Bare-metal Continuous Integration and Continuous Deployment with just Docker
Cicd / July 07, 2018
I wanted to demonstrate how all pieces fit together in an environment with microservices. This is that demo.
I am going to use Consul, Registrator, HAProxy, Jenkins and all other good stuff. A huge Thank You goes to the folks in the Open Source Community who created the Docker Images and Documentation around them showing how to use them.
If you want to see how the Load Balancer( HAProxy) starts routing traffic to a newly discovered service, I would suggesst going through Consul and Registrator Documentation.
So let’s get started.
Get the Service Discovery Running
Get Consul Running( Change the IP to point to your Docker Host).
docker run --name consul -d -h microservices -p 8300:8300 -p 8301:8301 -p 8301:8301/udp -p 8302:8302 -p 8302:8302/udp -p 8400:8400 -p 8500:8500 -p 53:53 -p 53:53/udp progrium/consul -server -advertise 52.225.225.230 -bootstrap-expect 1Now run the Registrator to create a bridge between your Docker Demon and the Service Discovery
docker run -d --privileged -v /var/run/docker.sock:/tmp/docker.sock -h registrator --name registrator gliderlabs/registrator consul://52.225.225.230:8500Run a Sample Application. You can check if it is running by hitting the container directly using cURL.
docker run -d -e SERVICE_NAME=hello/v1 -e SERVICE_TAGS=rest -h hello1 --name hello1 -p :80 sirile/scala-boot-testRun the Load Balancer. It should now route traffic to container hello1. So hit http://52.225.225.230/hello/v1 to check whether you can hit the container through the Load Balancer.
docker run -d -e SERVICE_NAME=rest --name=rest --dns 52.225.225.230 -p 80:80 -p 1936:1936 sirile/haproxyNow run another instance. Keeep hitting the same endpoint. Notice the Load Balancer routing requests to your upstream containers in Round-robin fashion.
docker run -d -e SERVICE_NAME=hello/v1 -e SERVICE_TAGS=rest -h hello2 --name hello2 -p :80 sirile/scala-boot-testCheck if everything is okay
Consul will be running on http://52.225.225.230:8500/
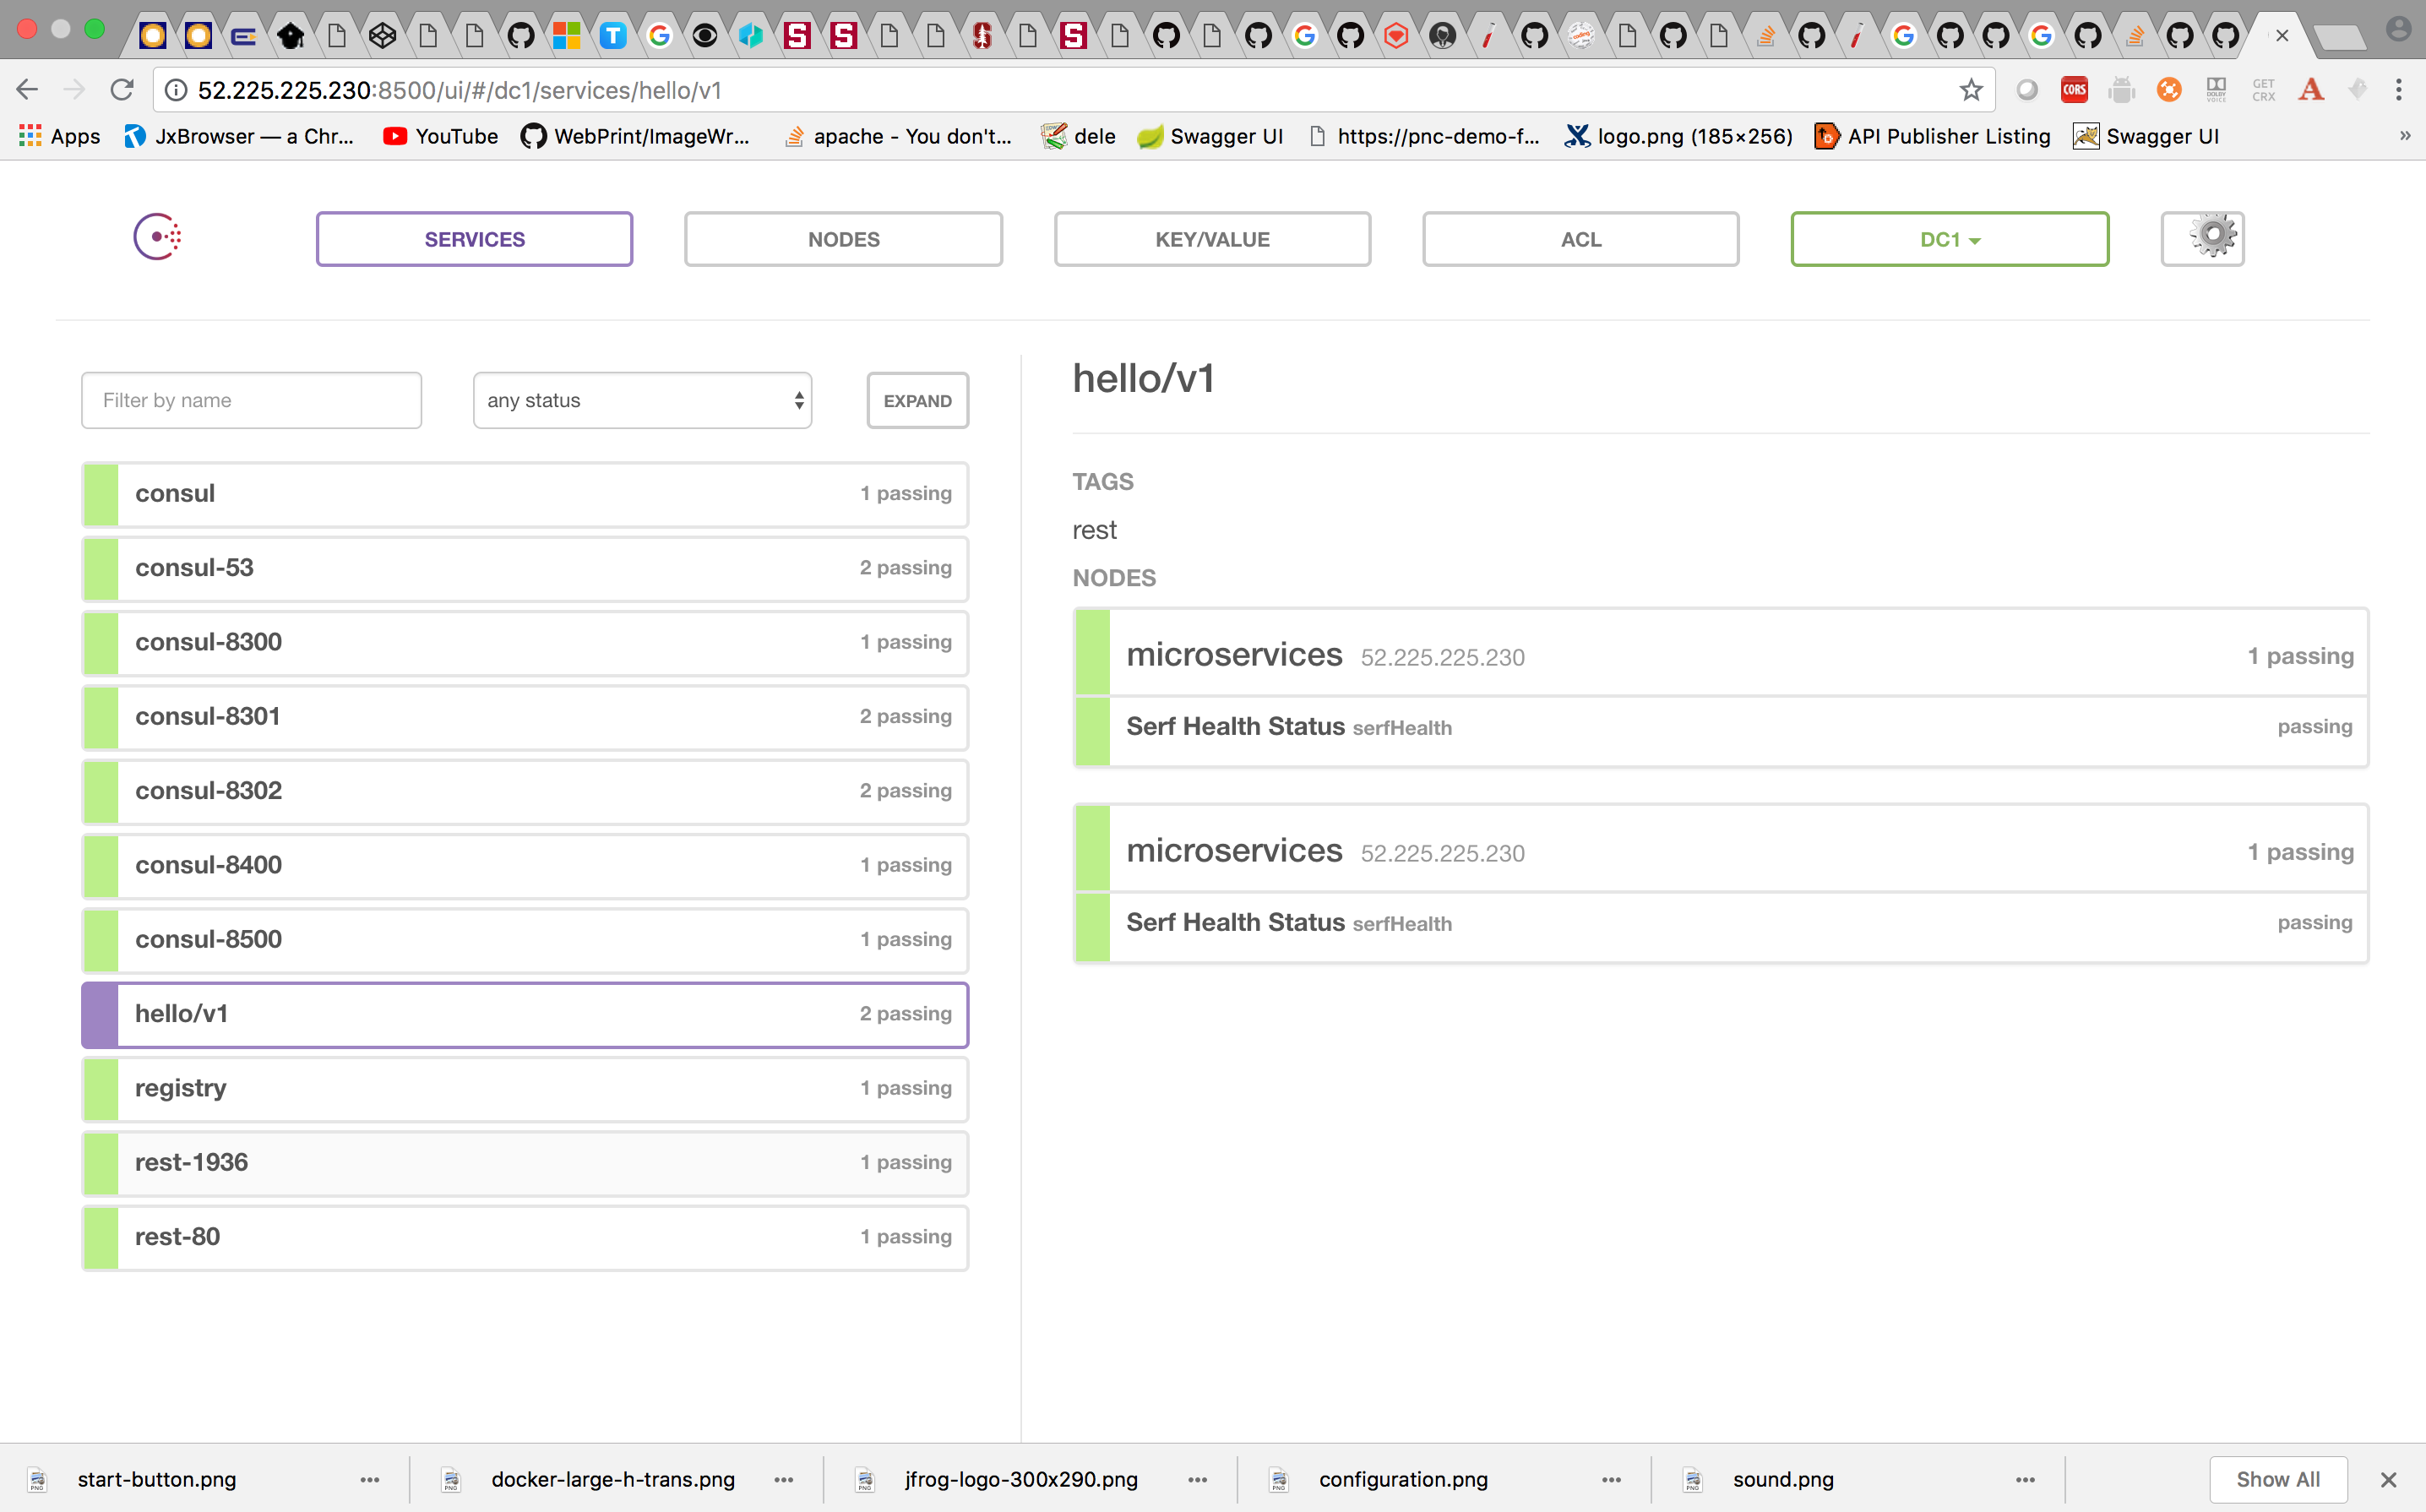
Test the Load Balancer by hitting hello/v1.
curl http://52.225.225.230/hello/v1Installing the Docker Registry
docker run -d -p 5000:5000 --name registry registry:2Check if the Registry is working
docker pull ubuntu
docker tag ubuntu localhost:5000/myfirstimage
docker push localhost:5000/myfirstimage
Verify whether the image is there by using cURL.
curl http://52.225.225.230:5000/v2/_catalog 
Running Jenkins in Docker outside of Docker( DooD)
sudo chmod -R 777 /path/to/your/jenkins/home # I am giving all permissions. You might want to avoid that.
docker run -d -v /var/run/docker.sock:/var/run/docker.sock -v /path/to/your/jenkins/home:/var/jenkins_home --name jenkins -p 8088:8080 toto1310/simple-jenkins-dood
Login to jenkins running on http://52.225.225.230:8088 and setup the rest of the things.
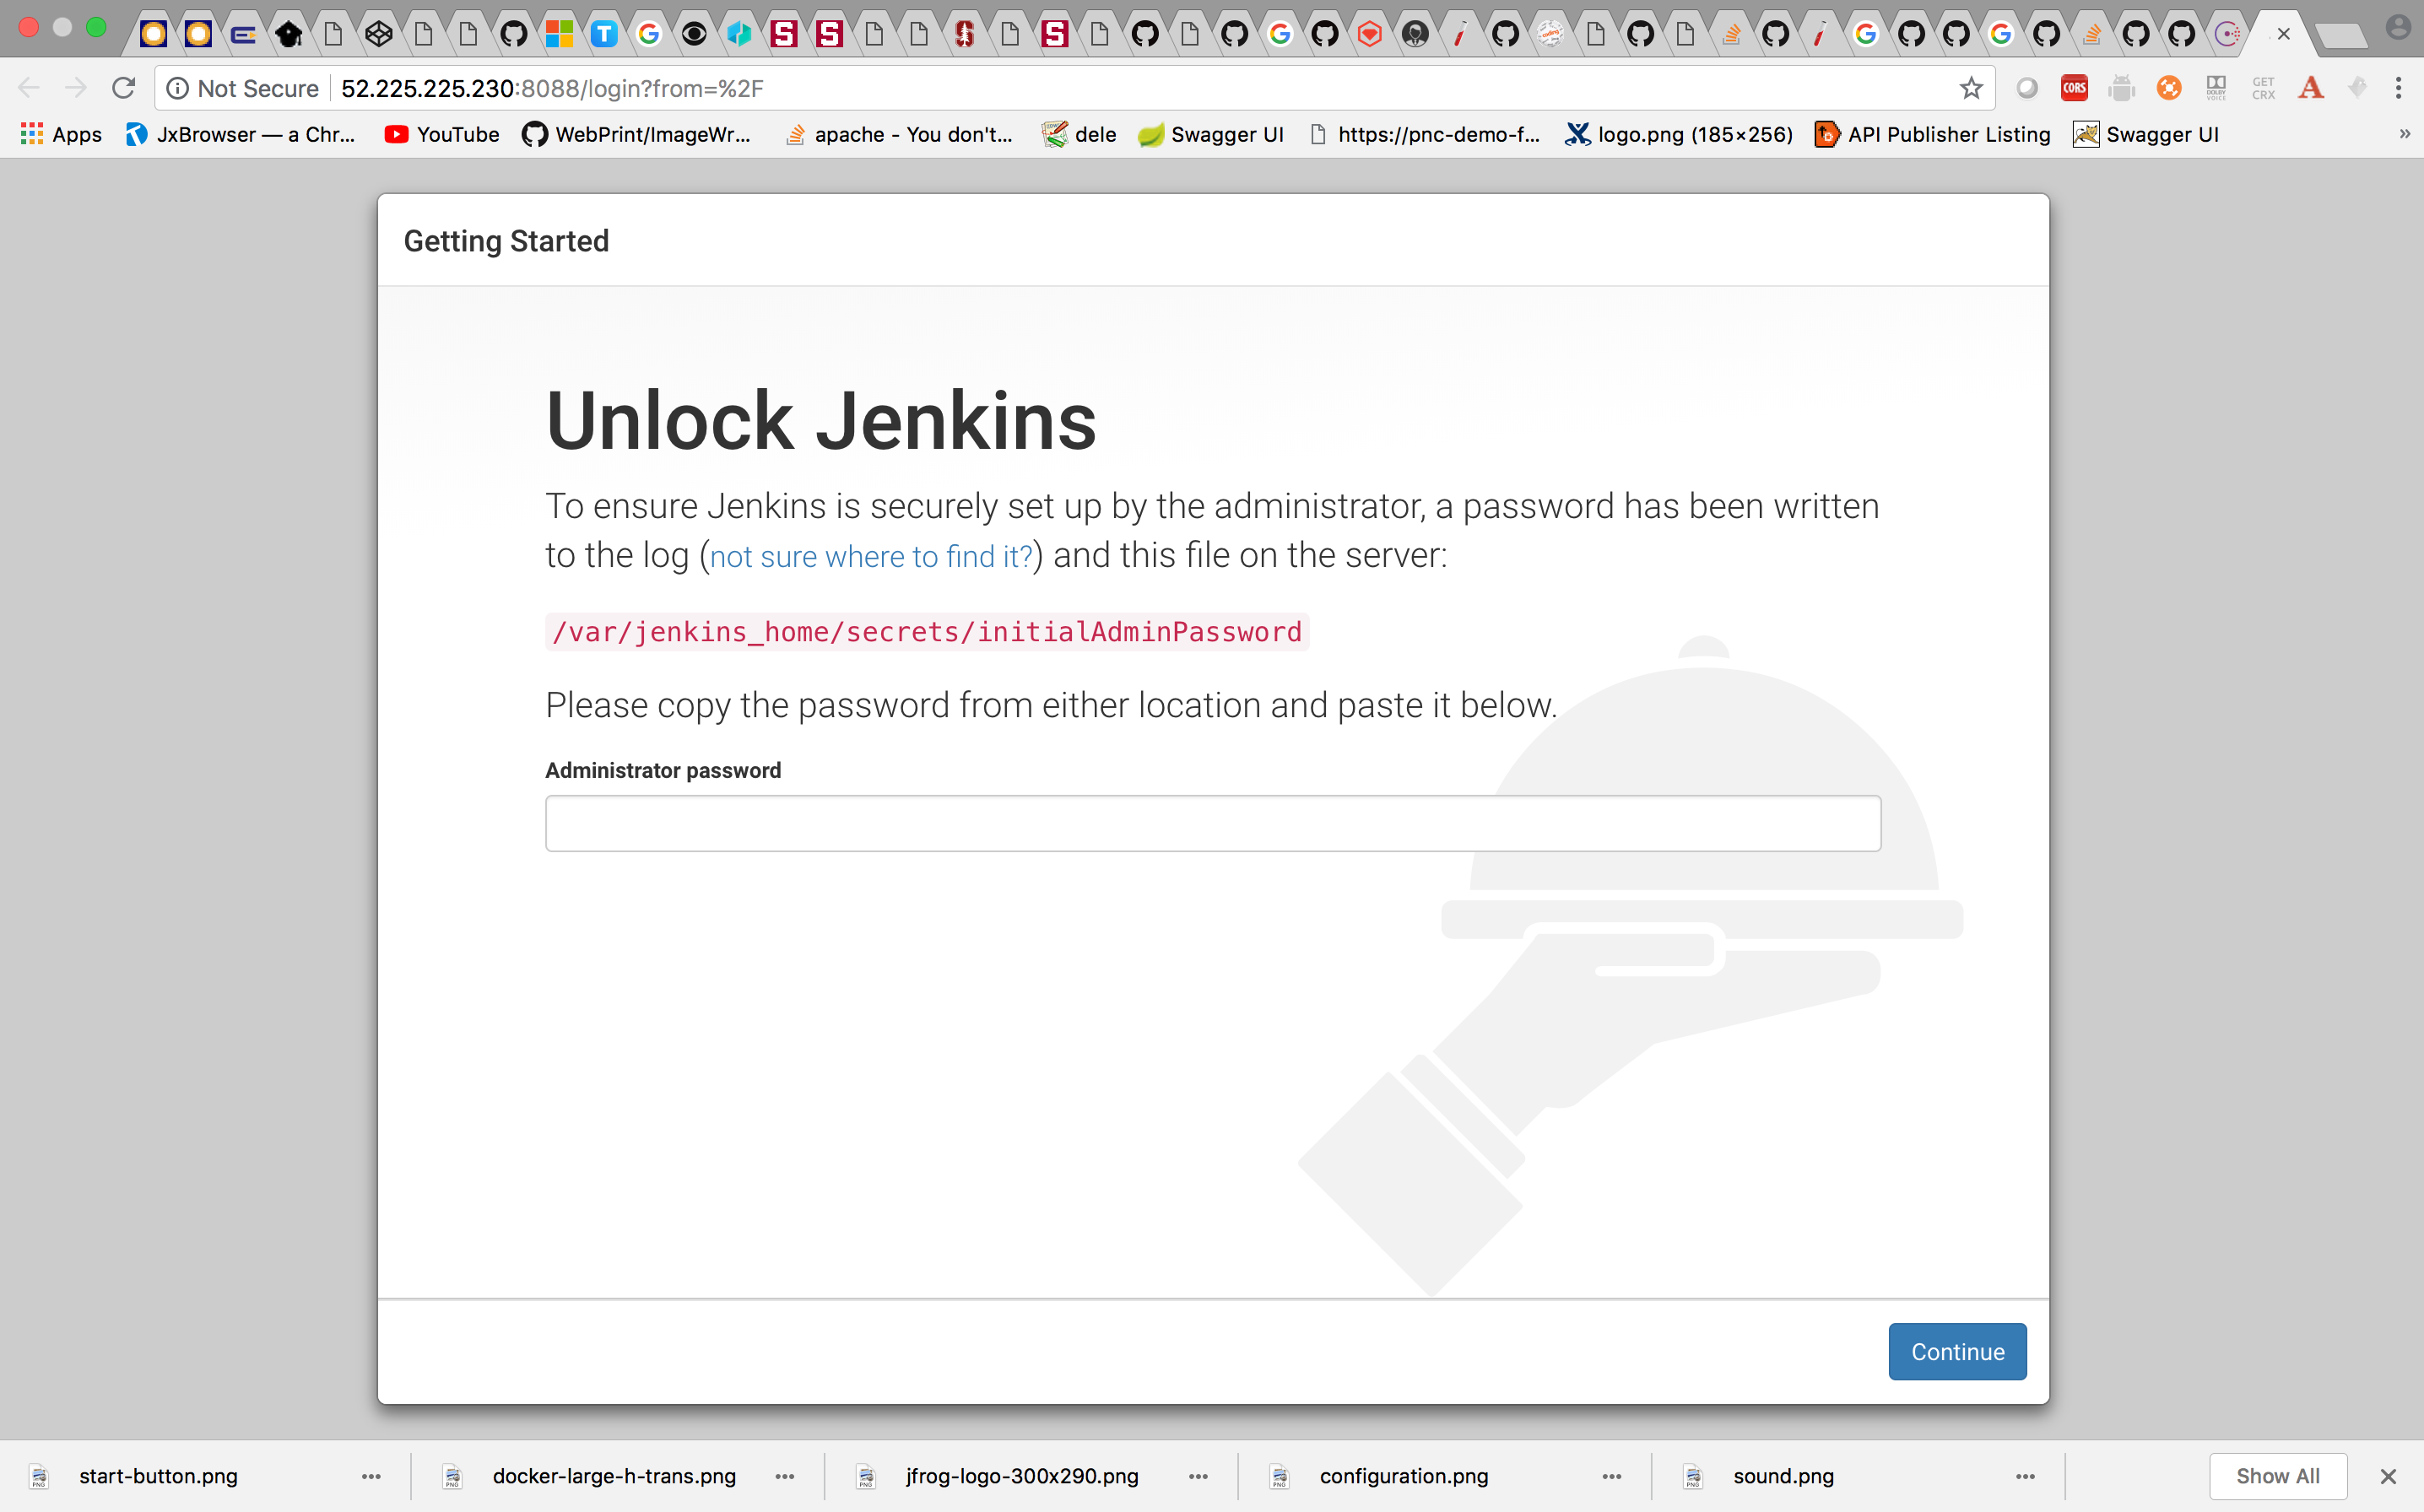
Get the initialAdminPassword by logging into the container
docker exec -it <container id> /bin/bash
cat /var/jenkins_home/secrets/initialAdminPassword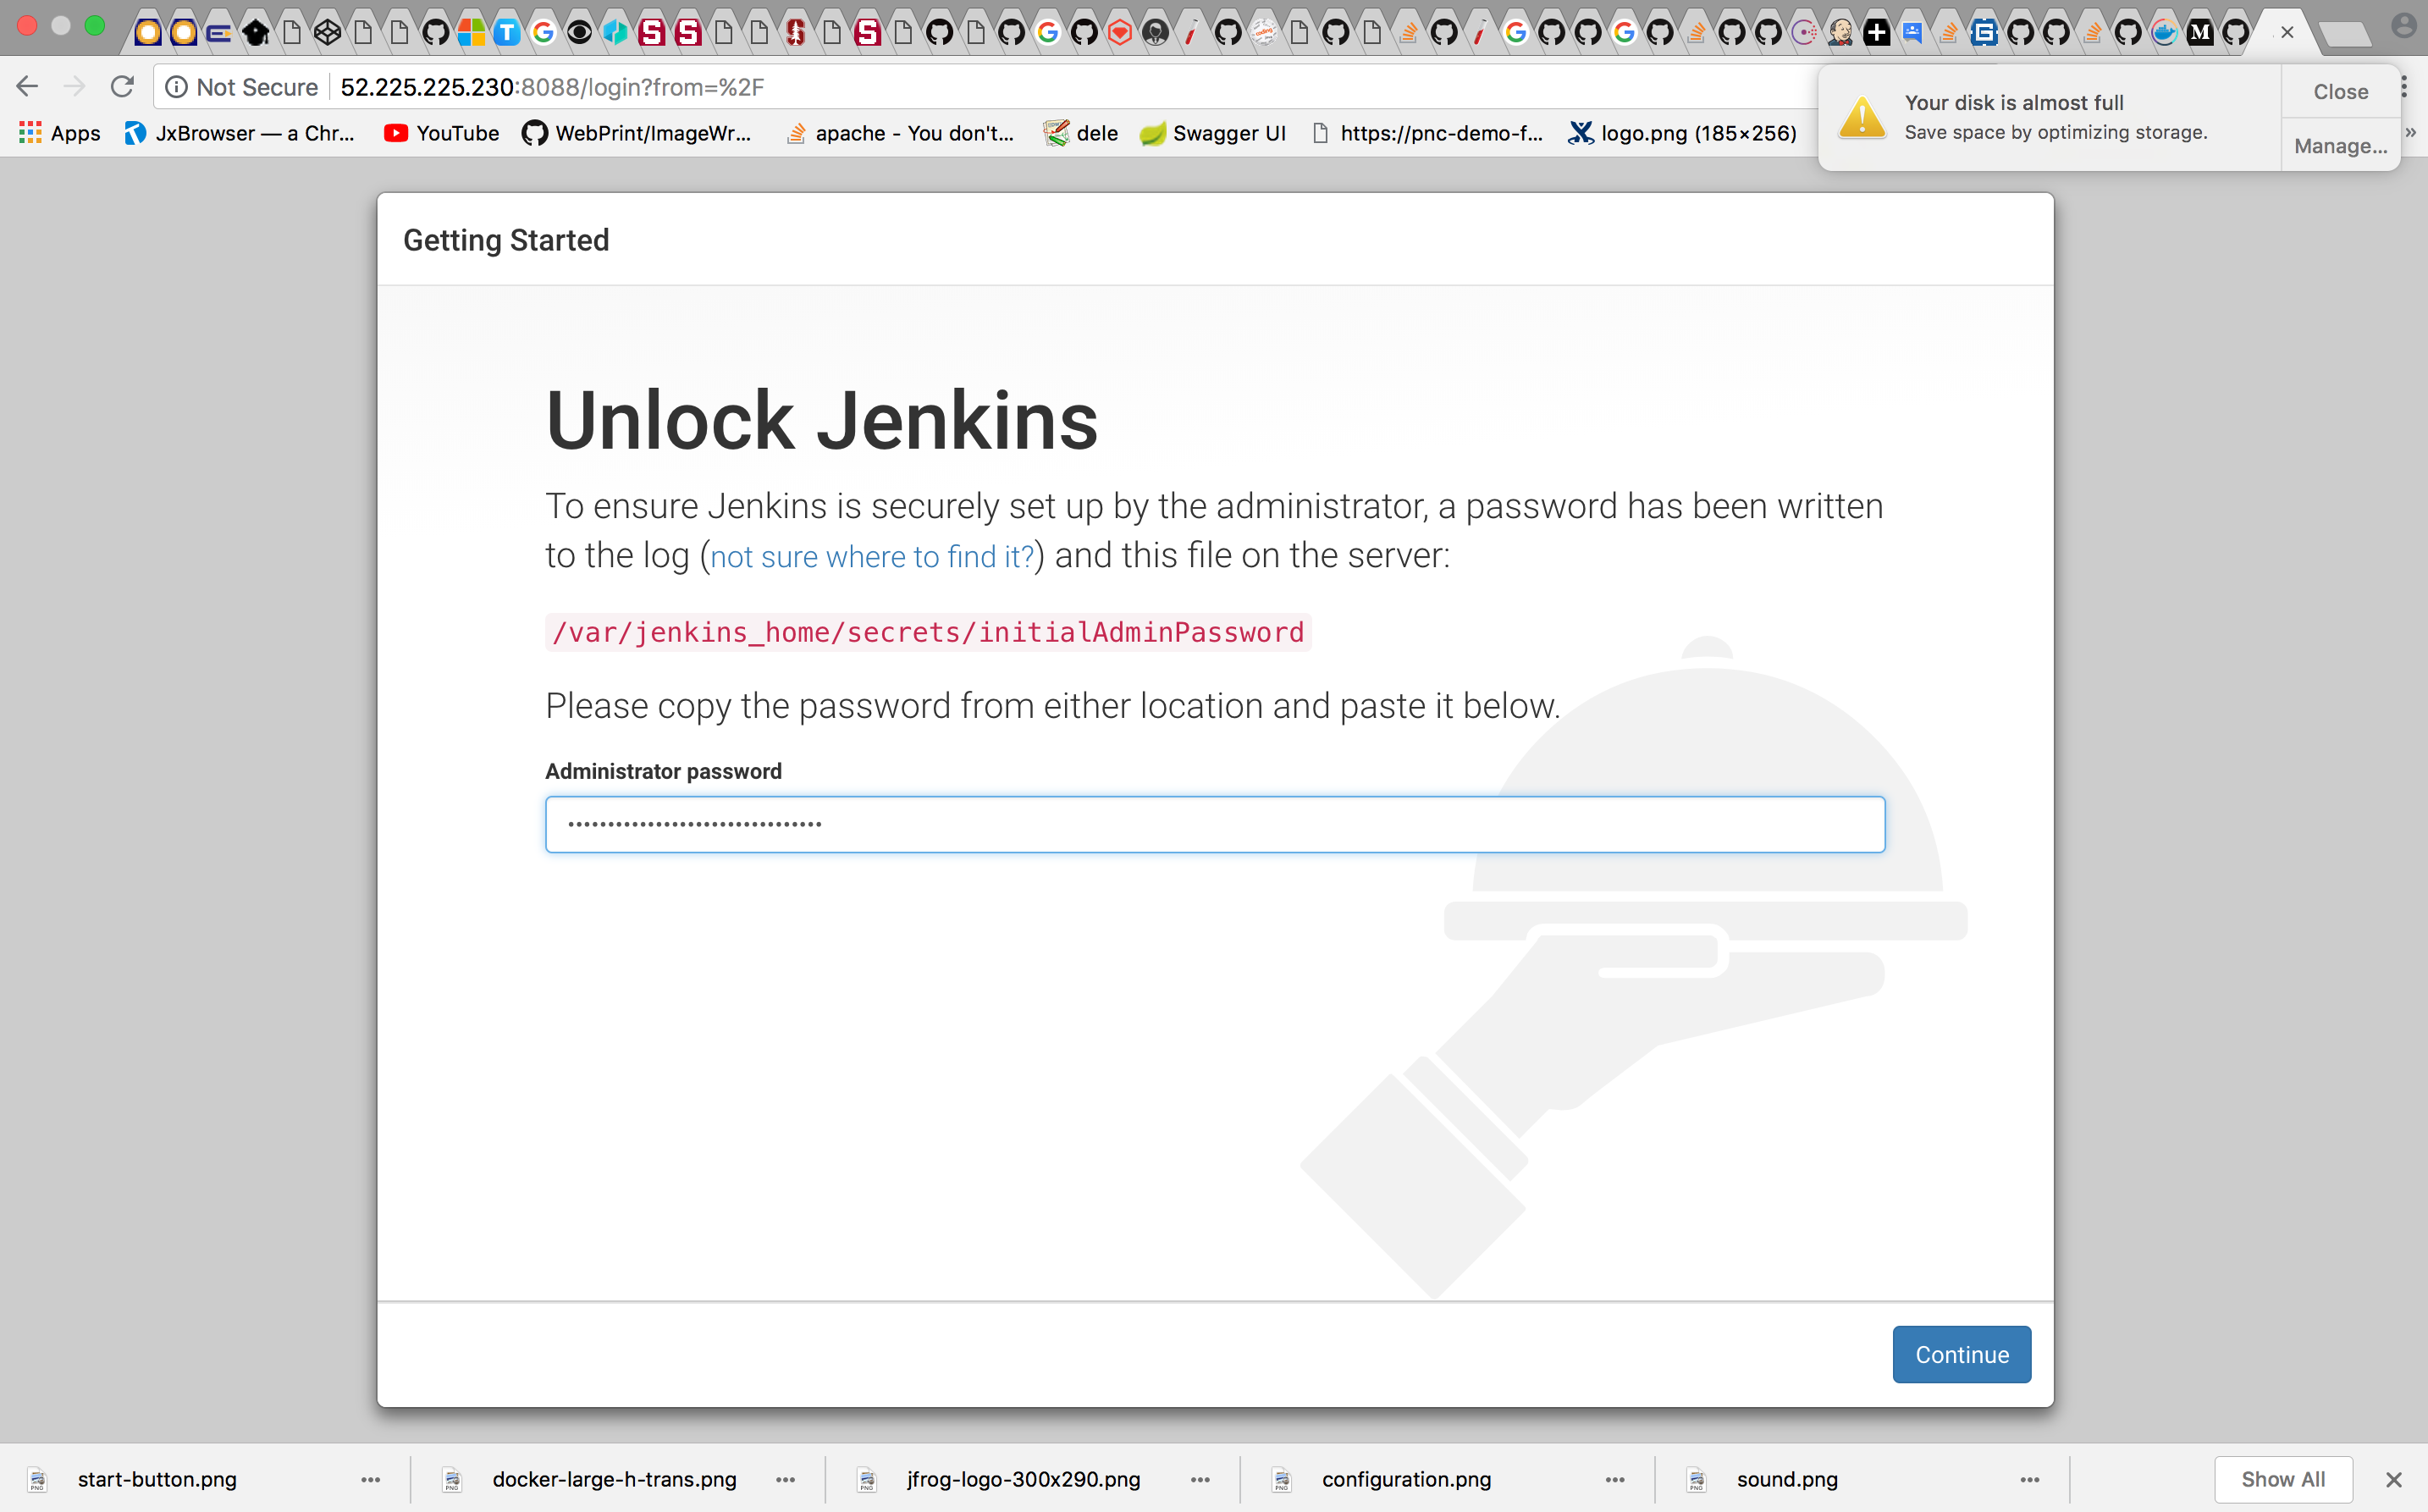
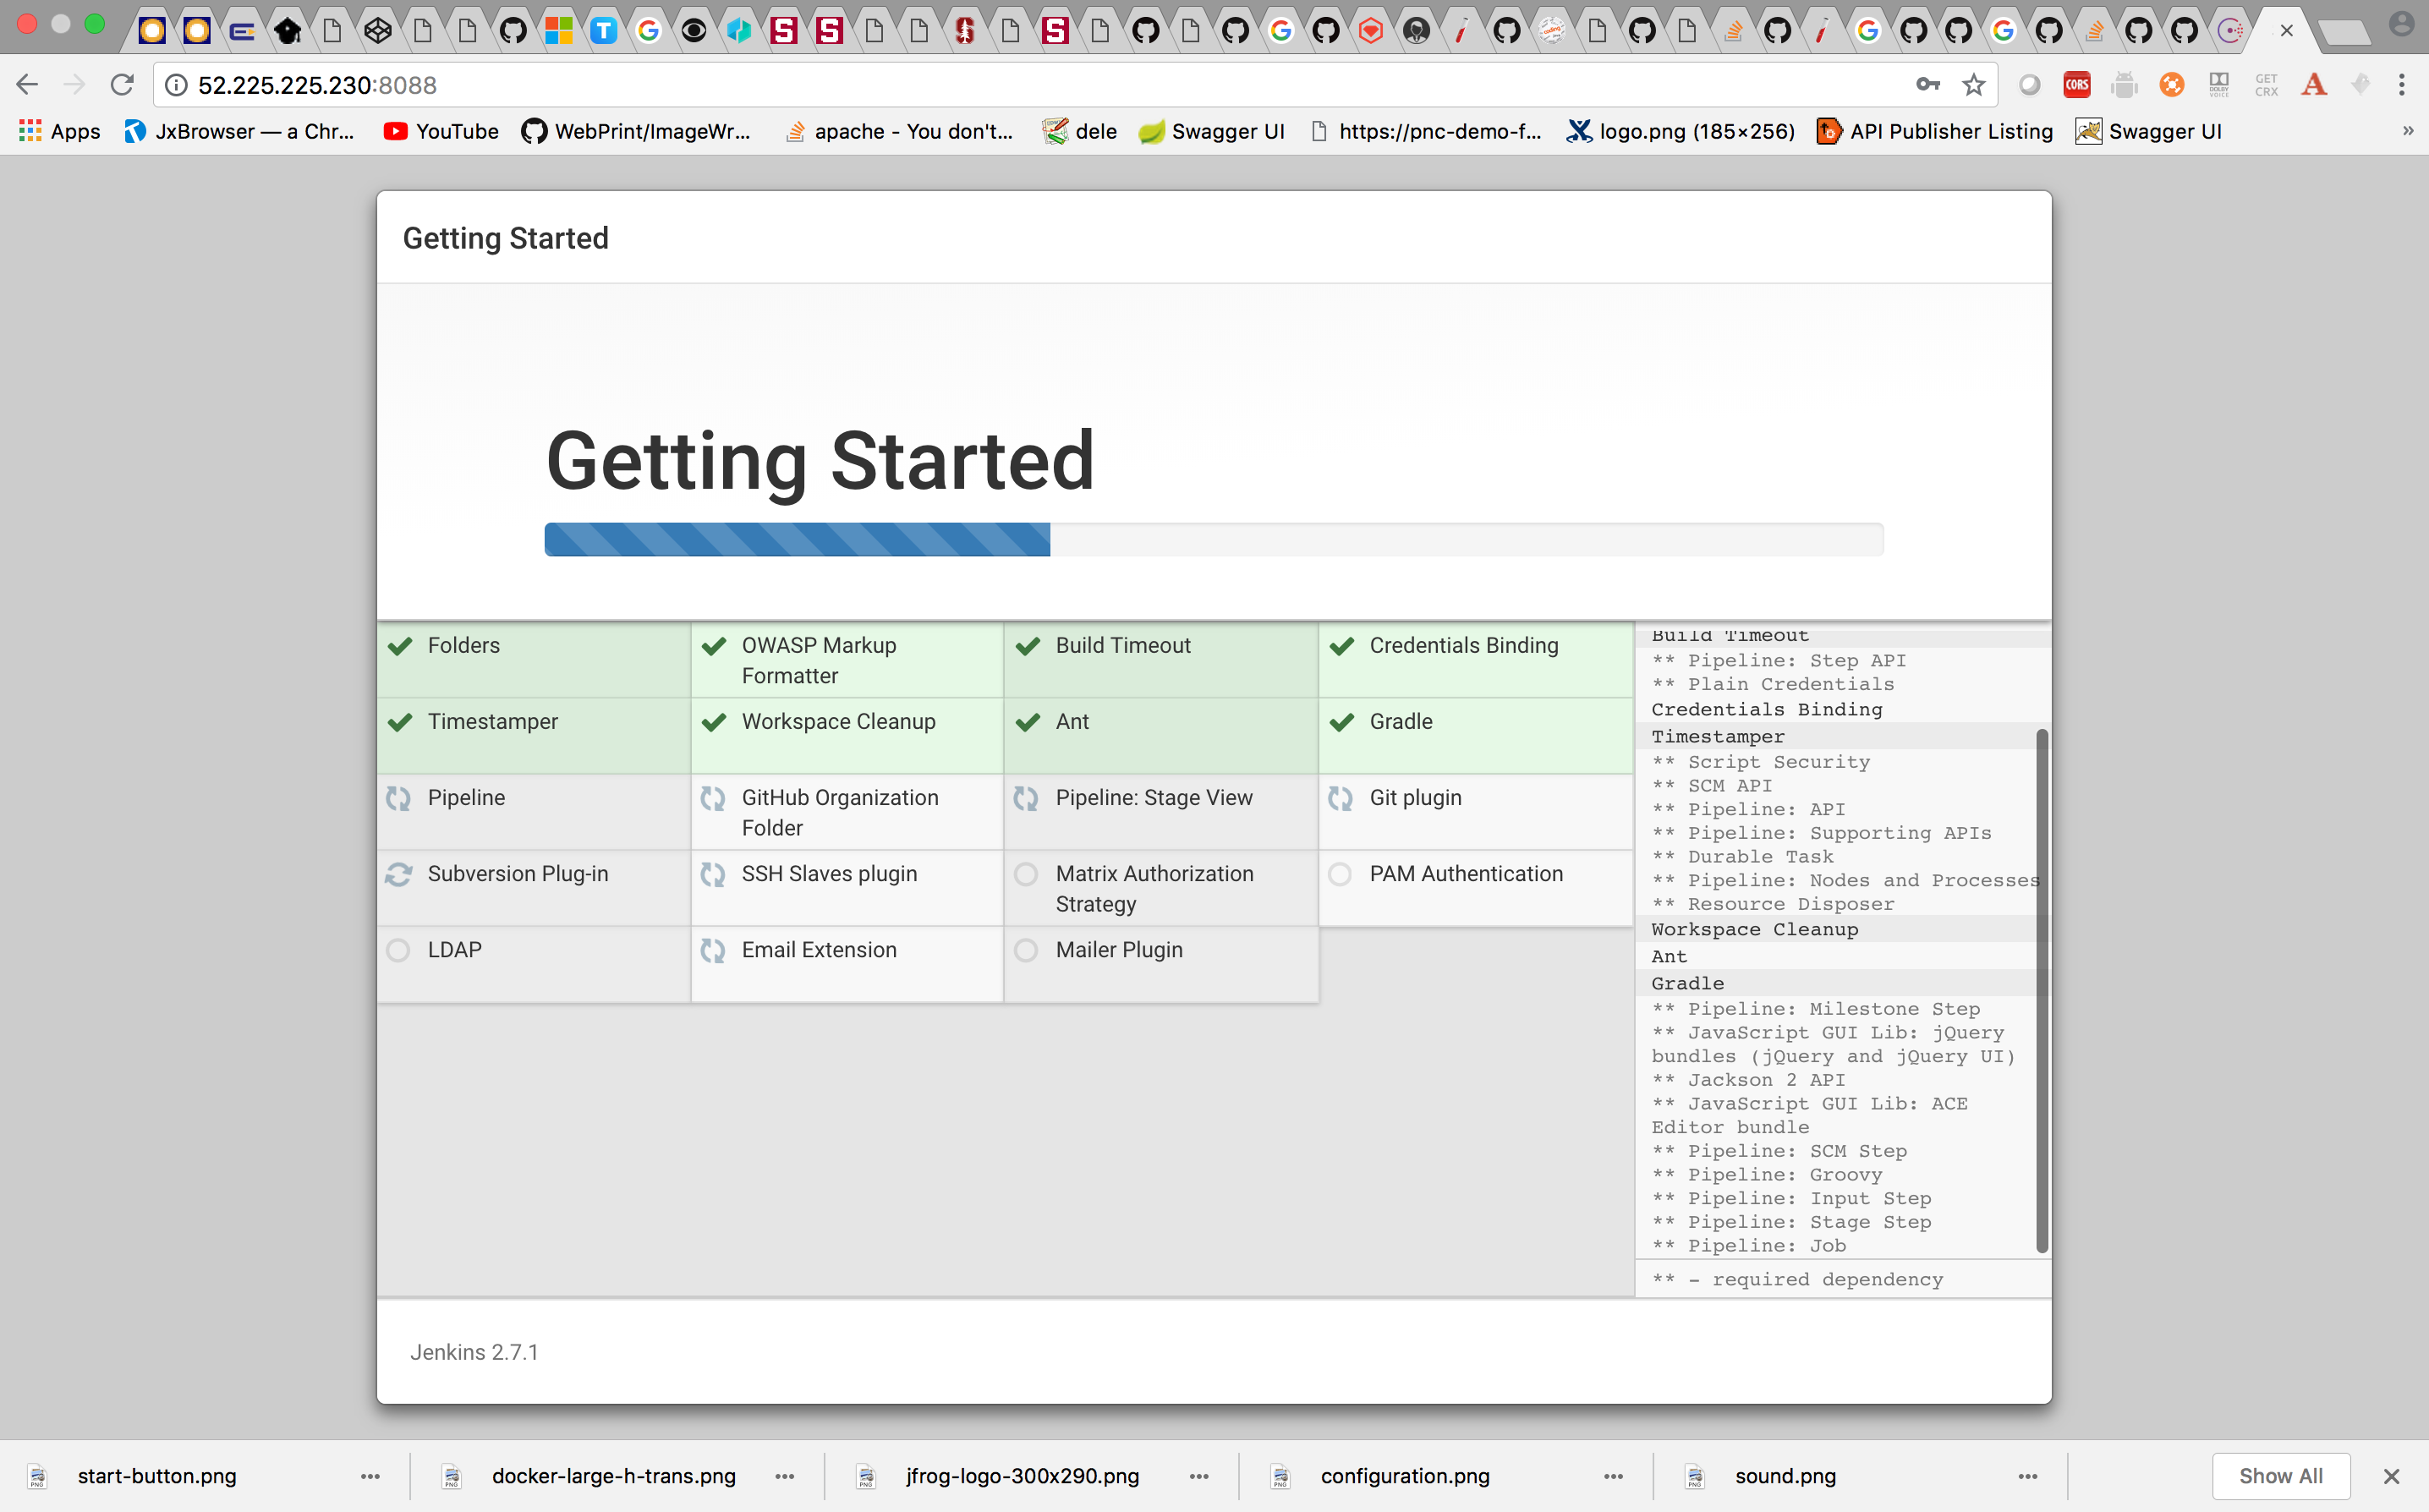
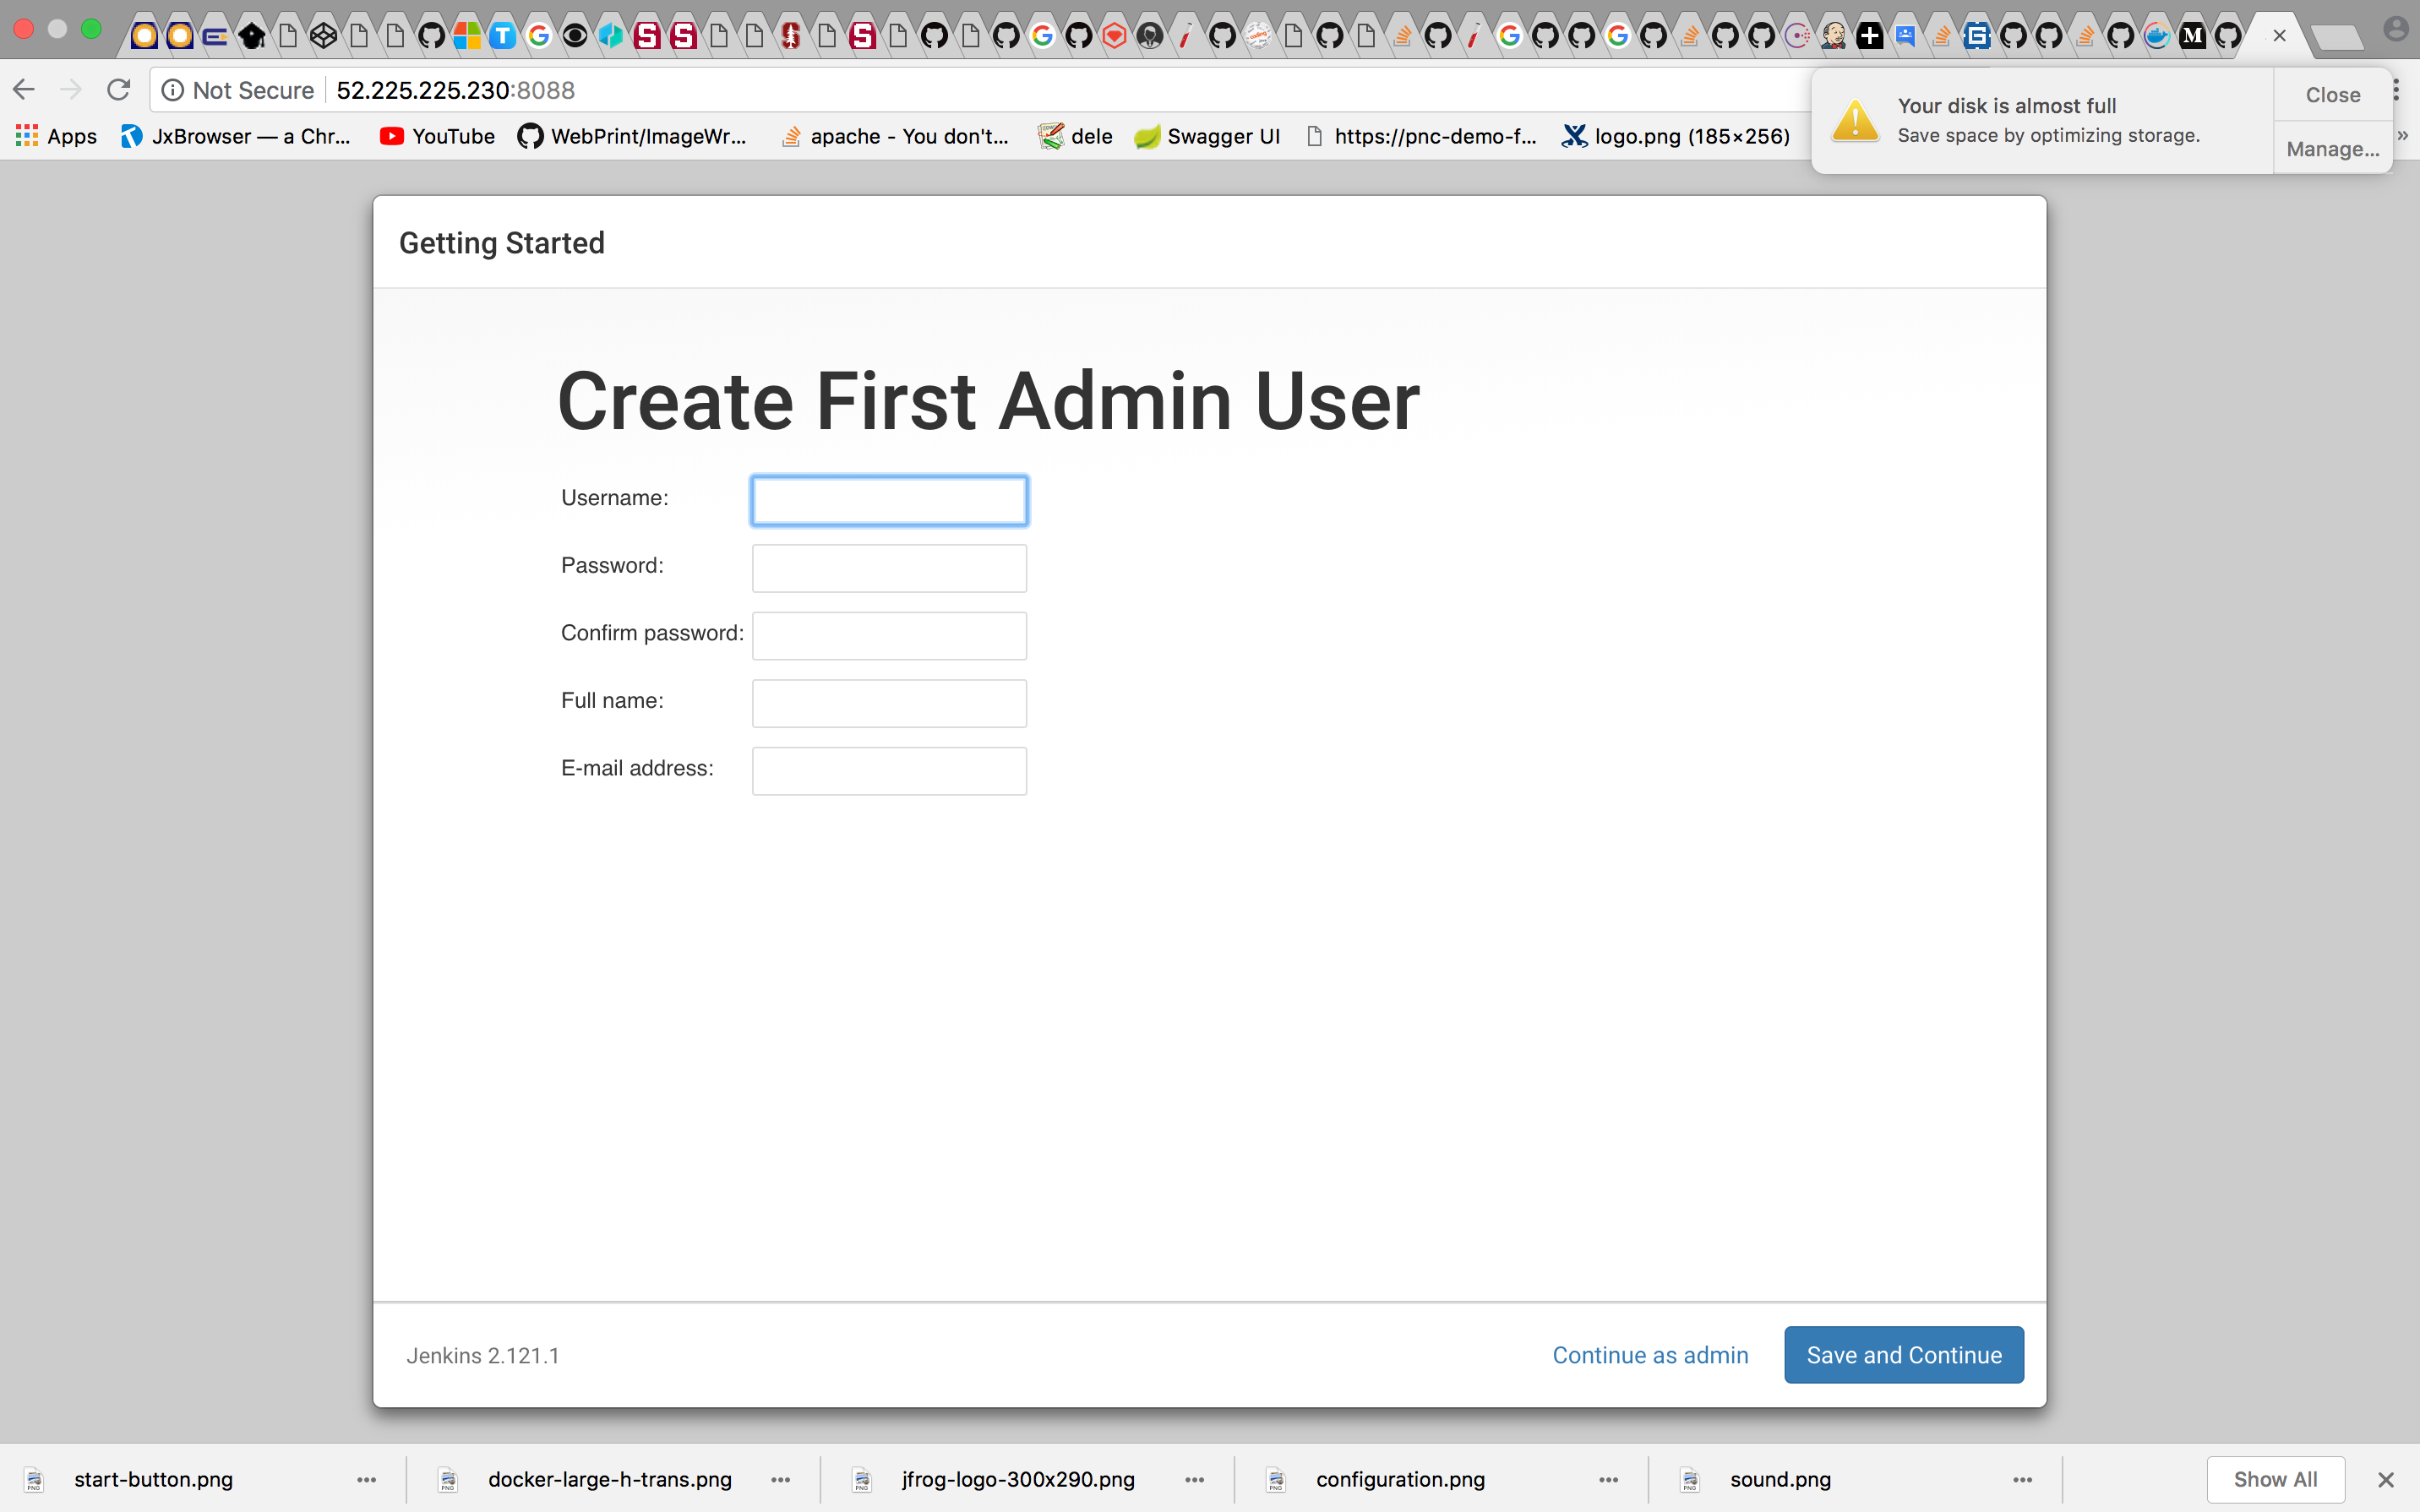
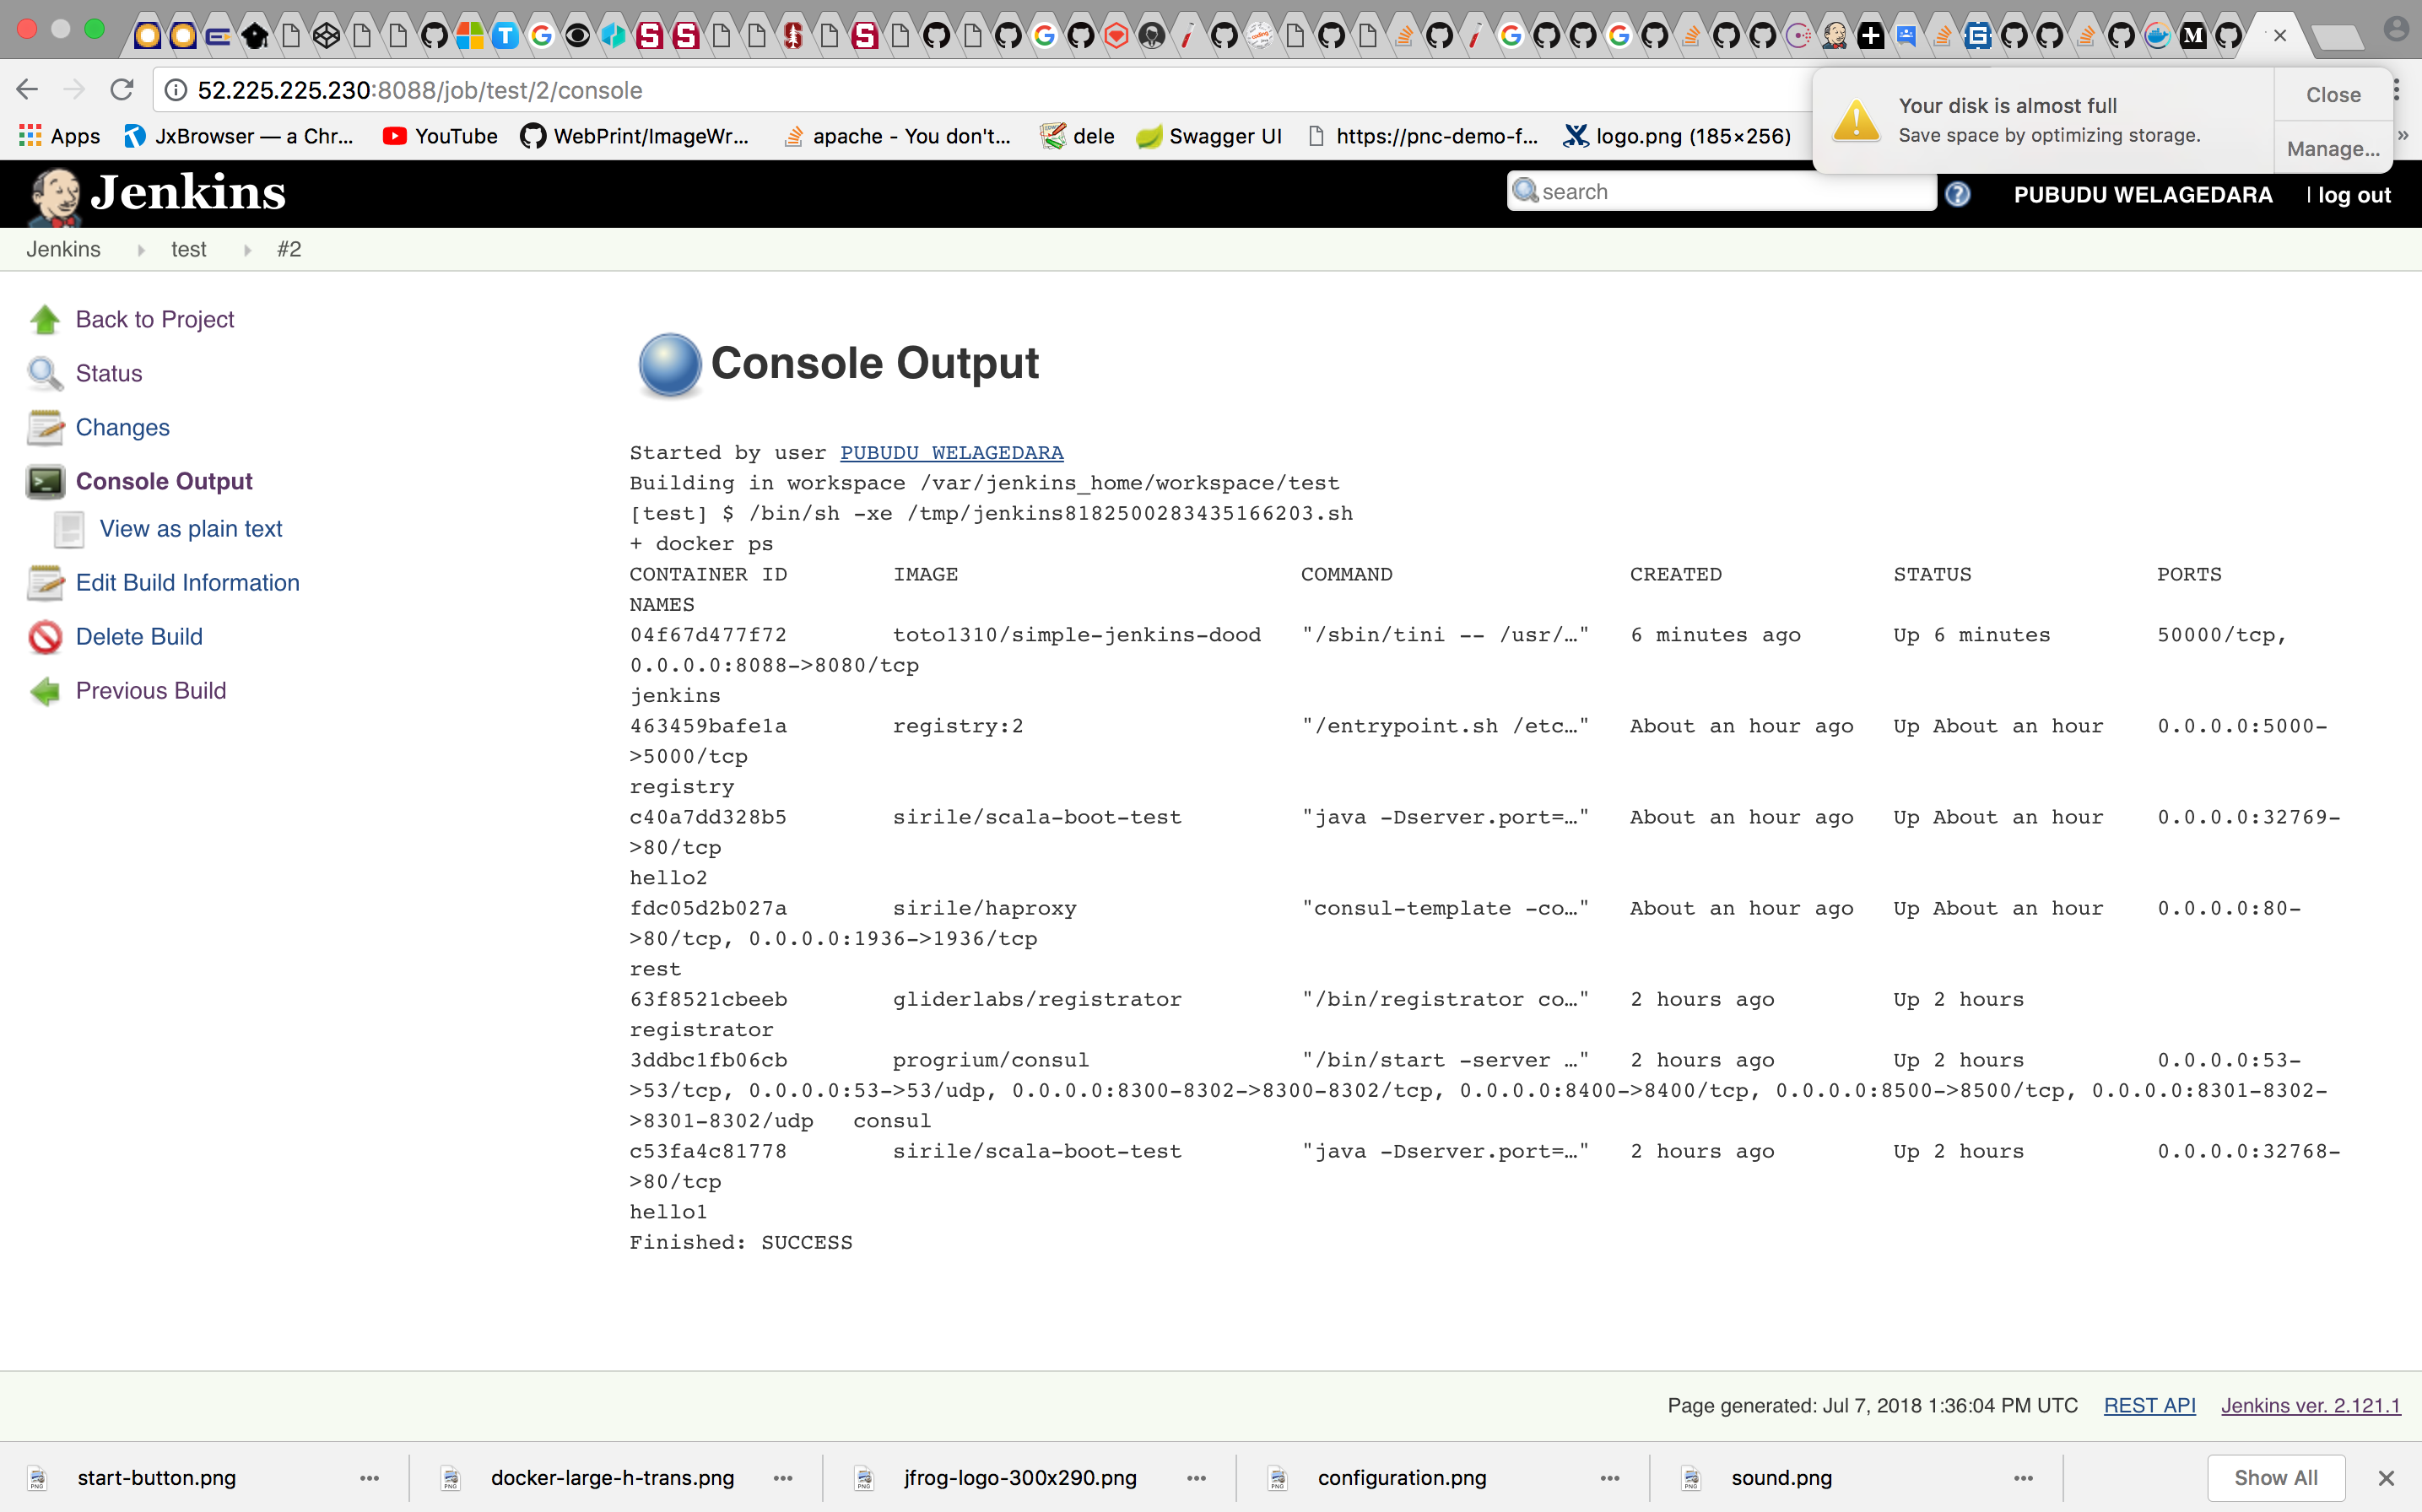
Once jenkins is installed create a job. In the job execute the some docker command like the one below to check if everything works.
docker ps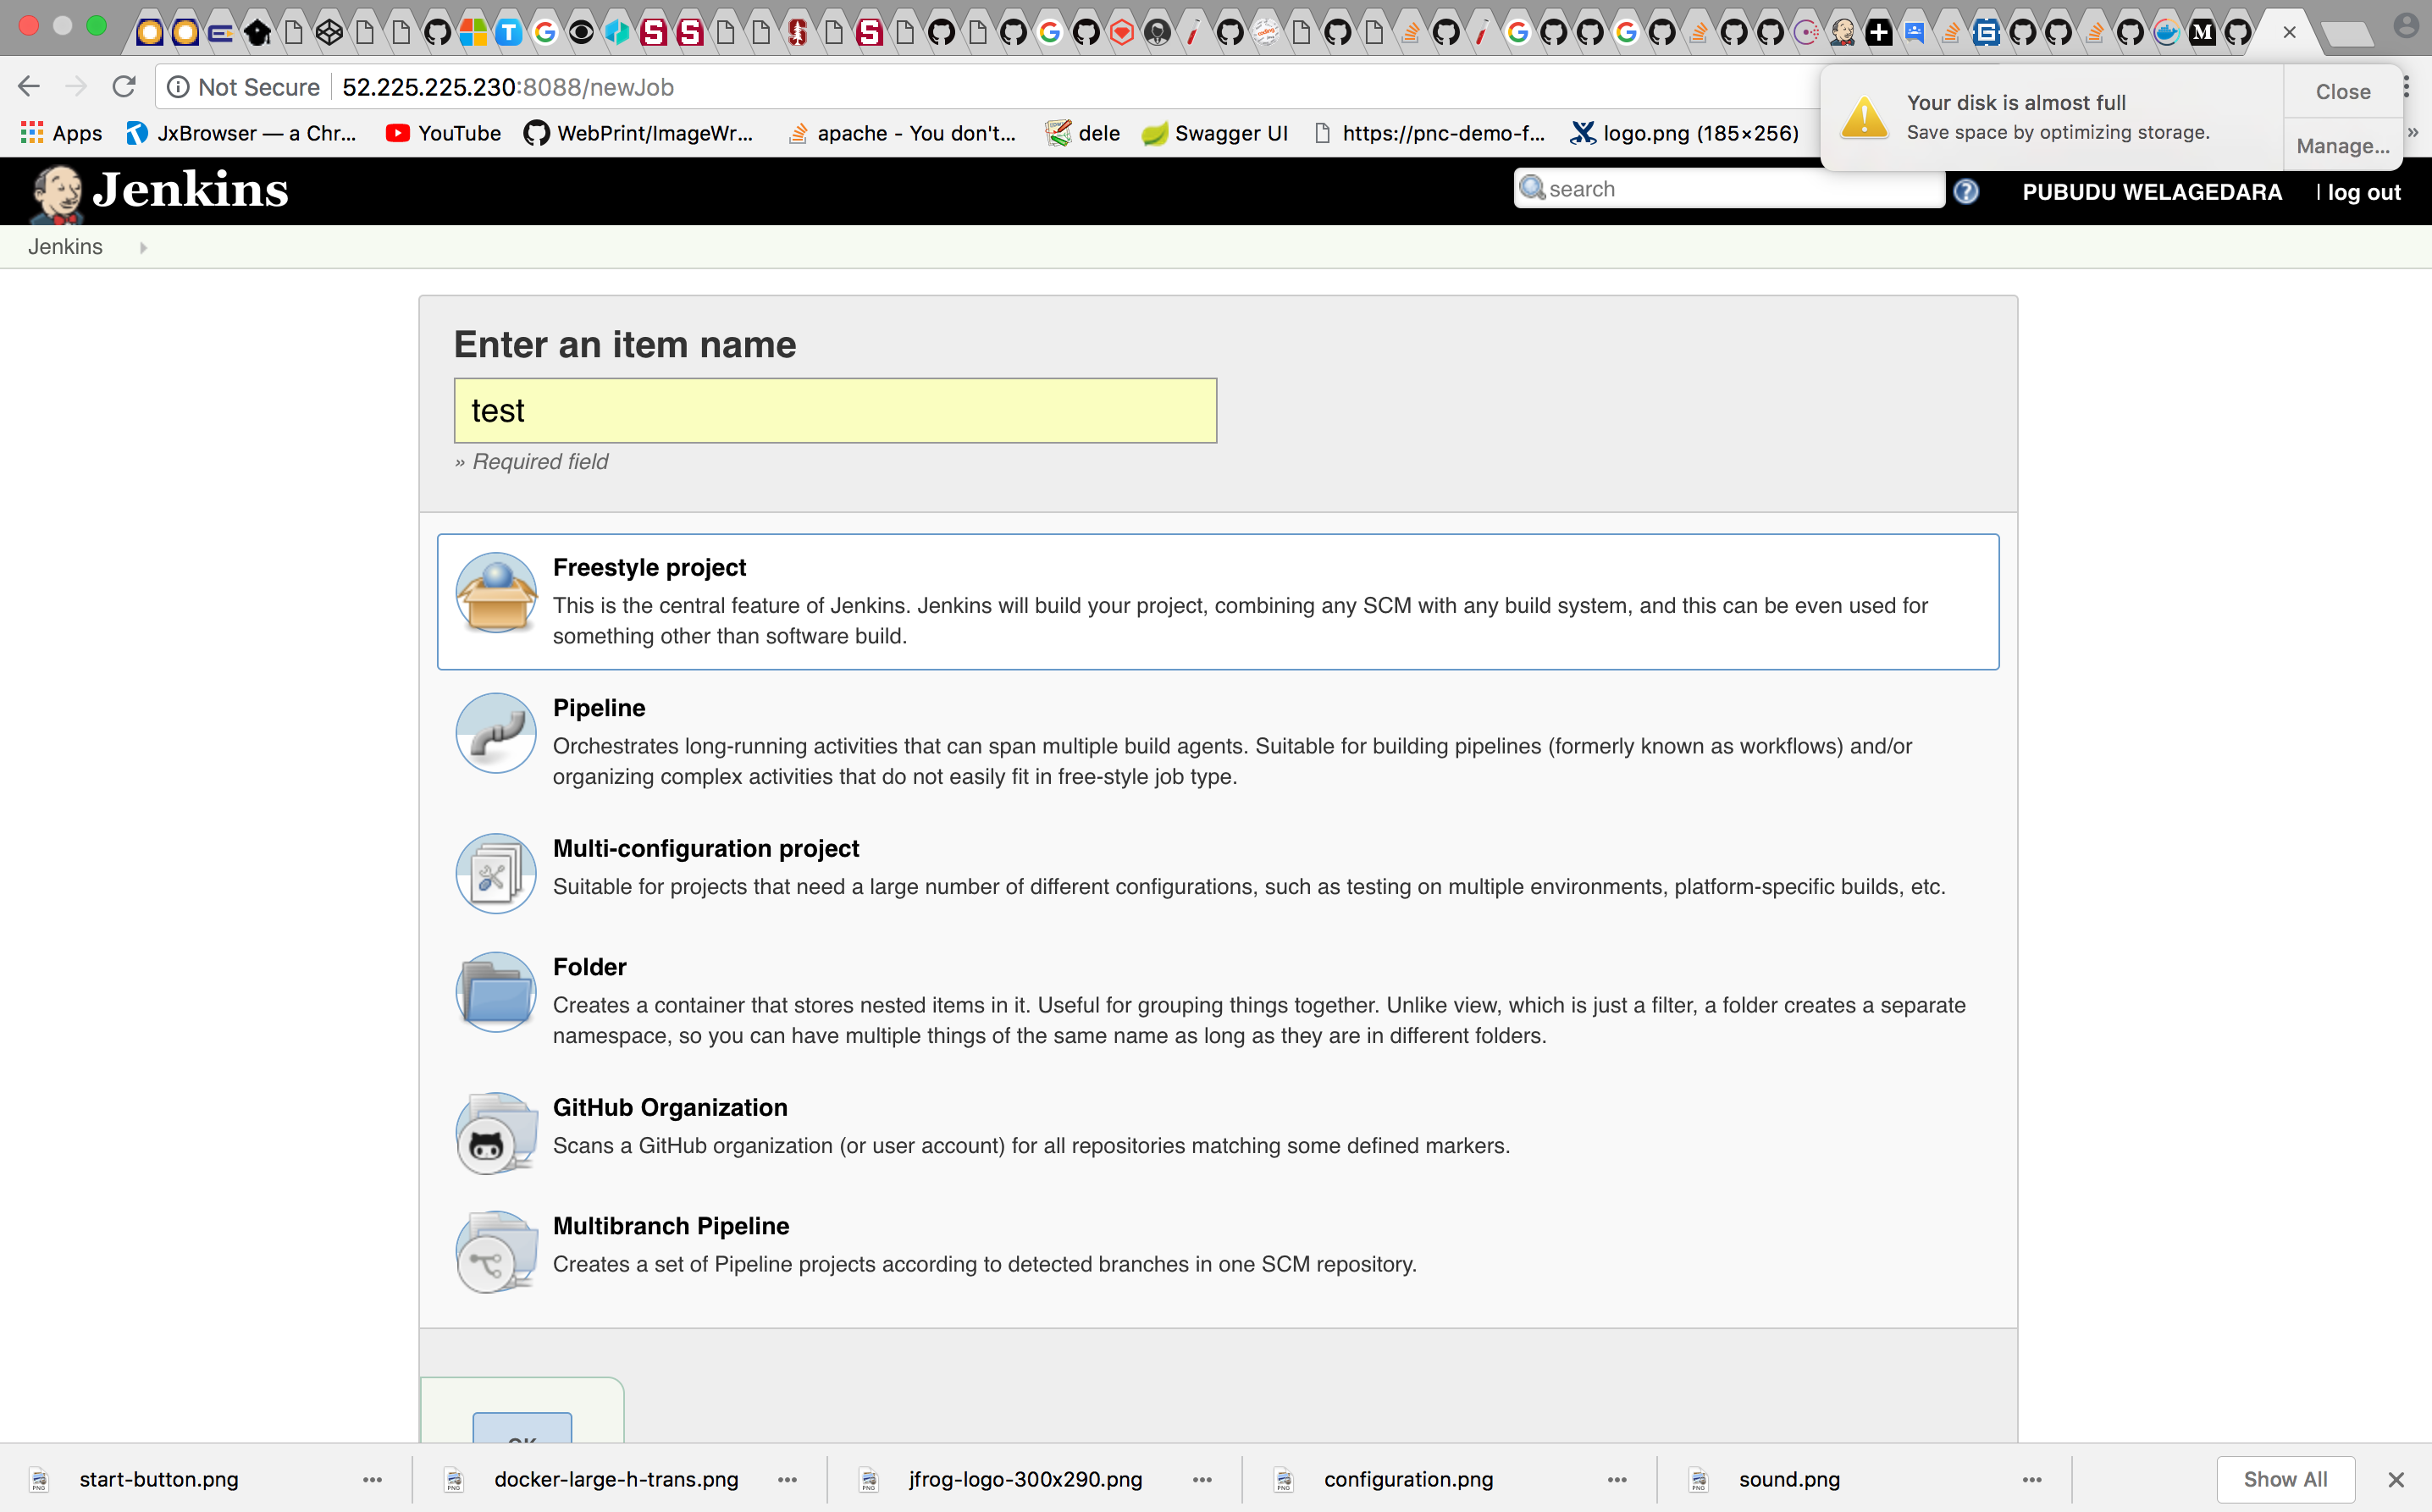
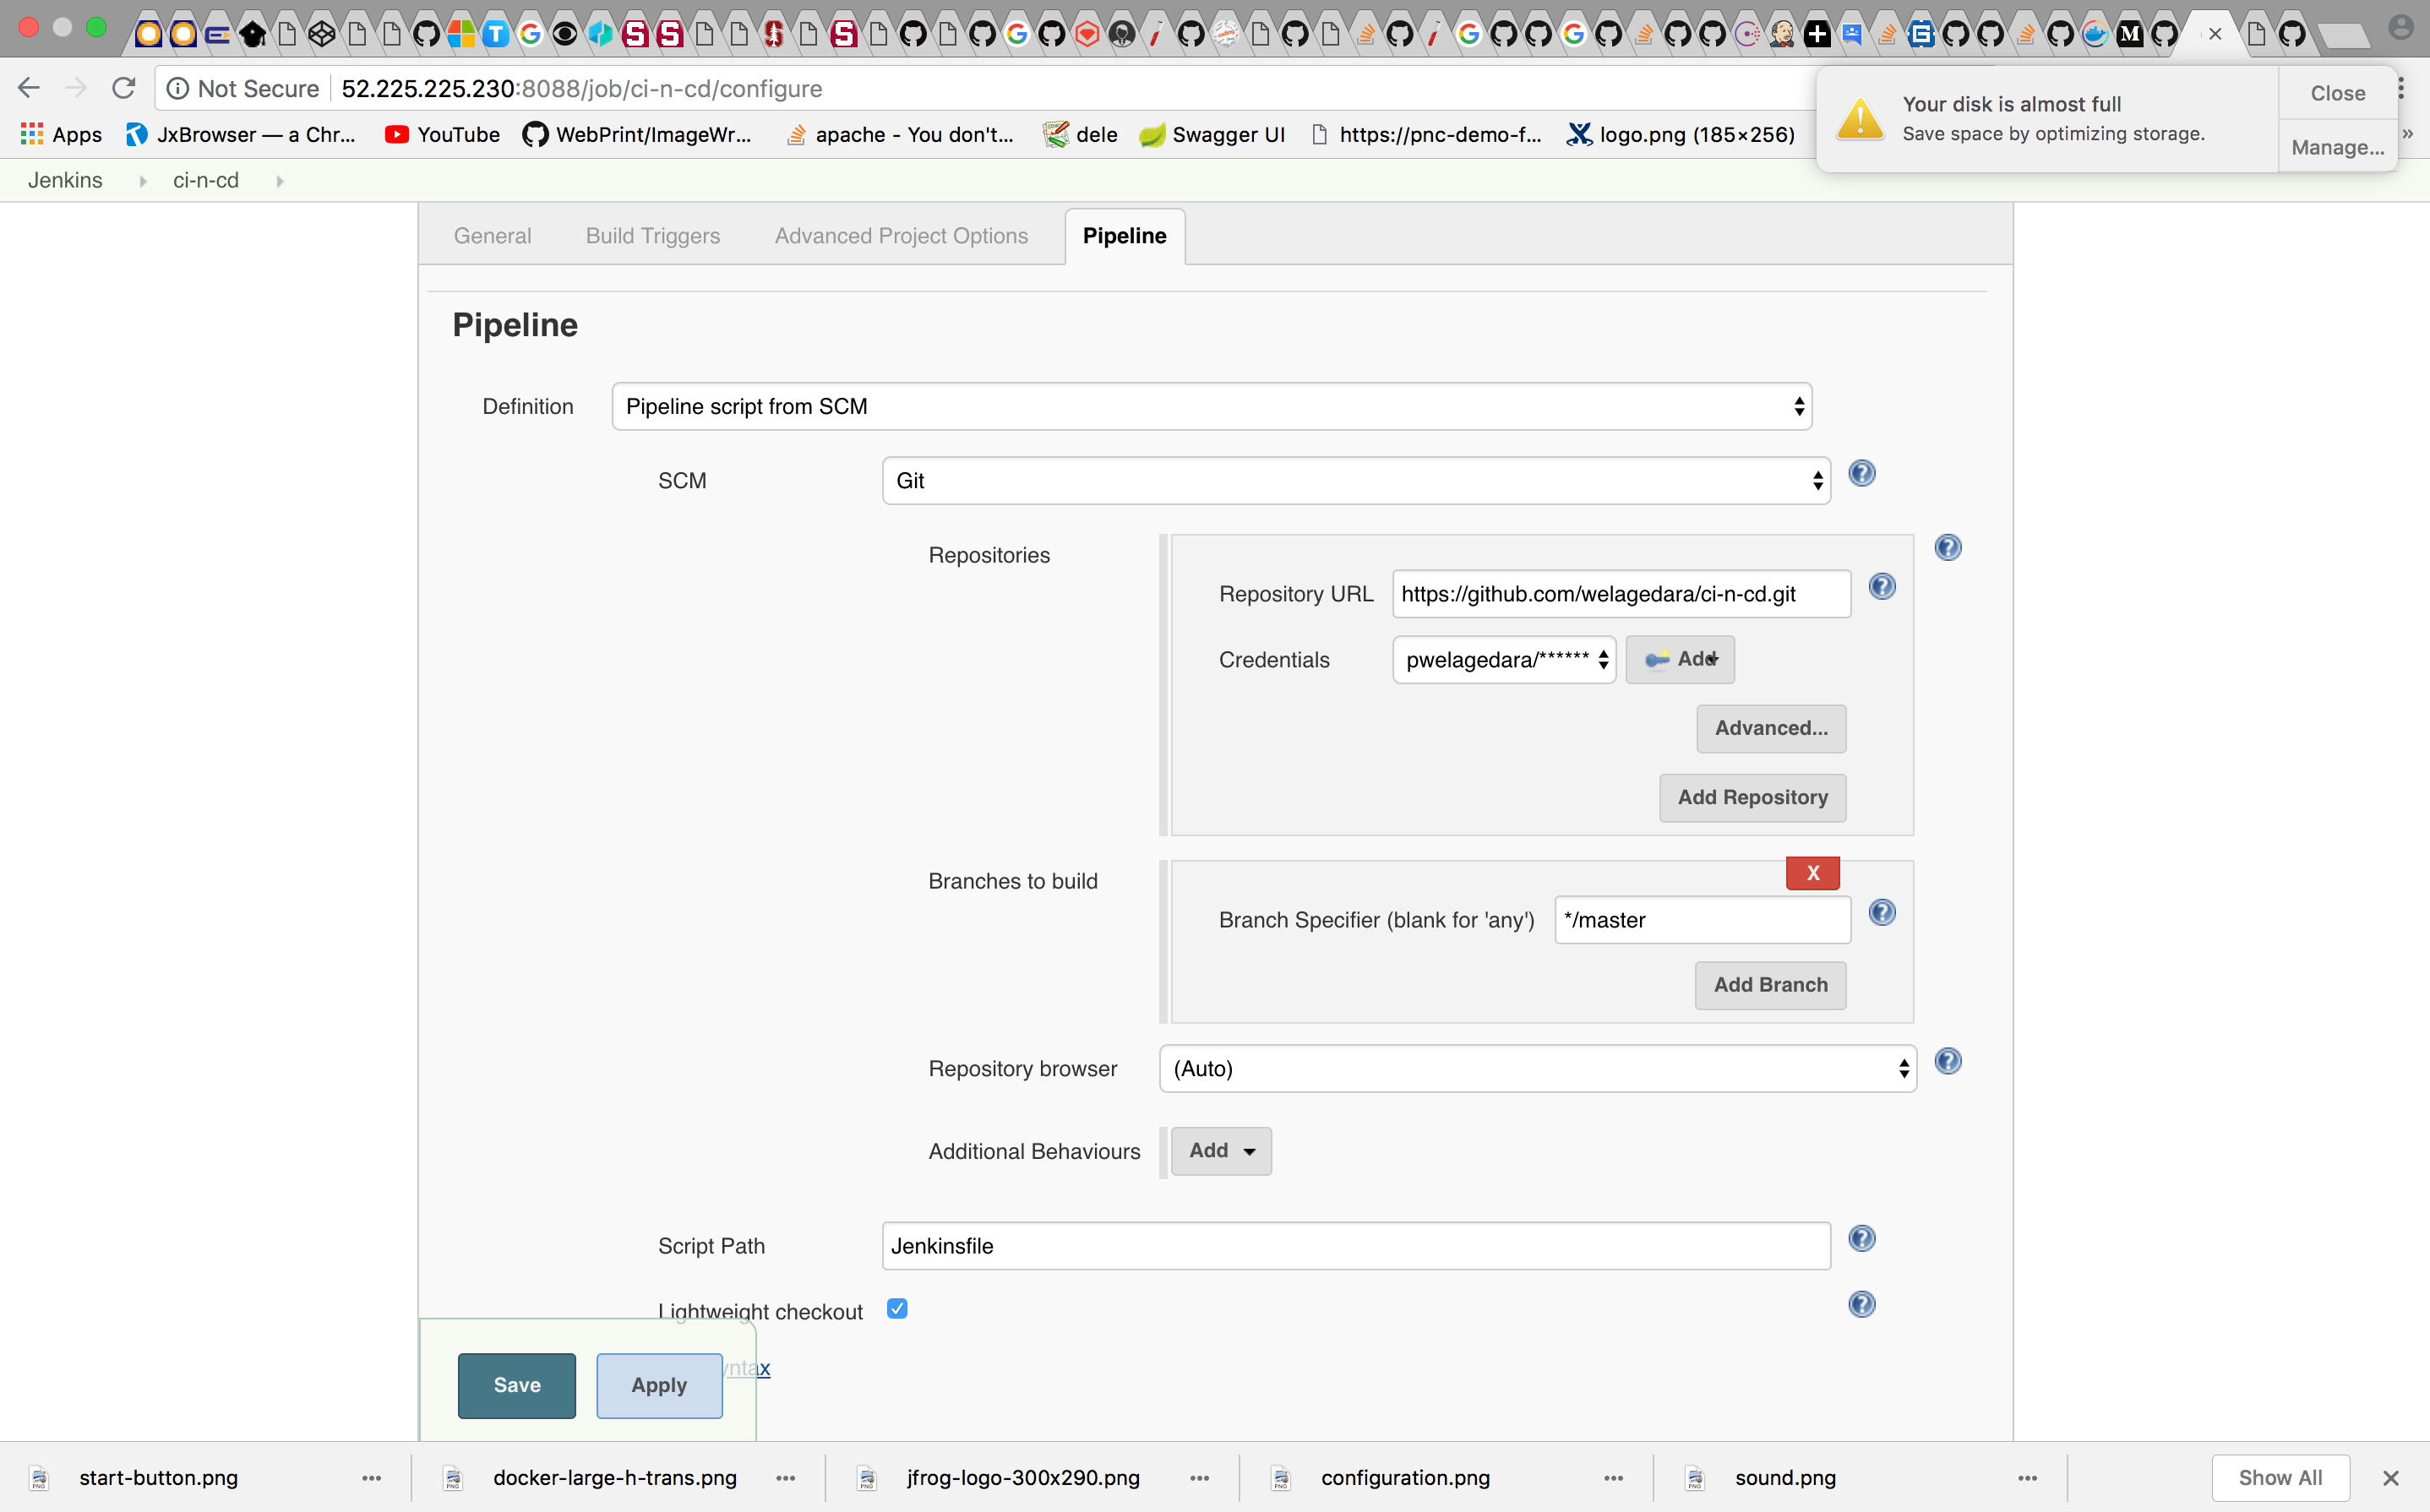
Deploy the Repo by using a Pipeline Job
You might want to modify the Source Code a little before the deployment.

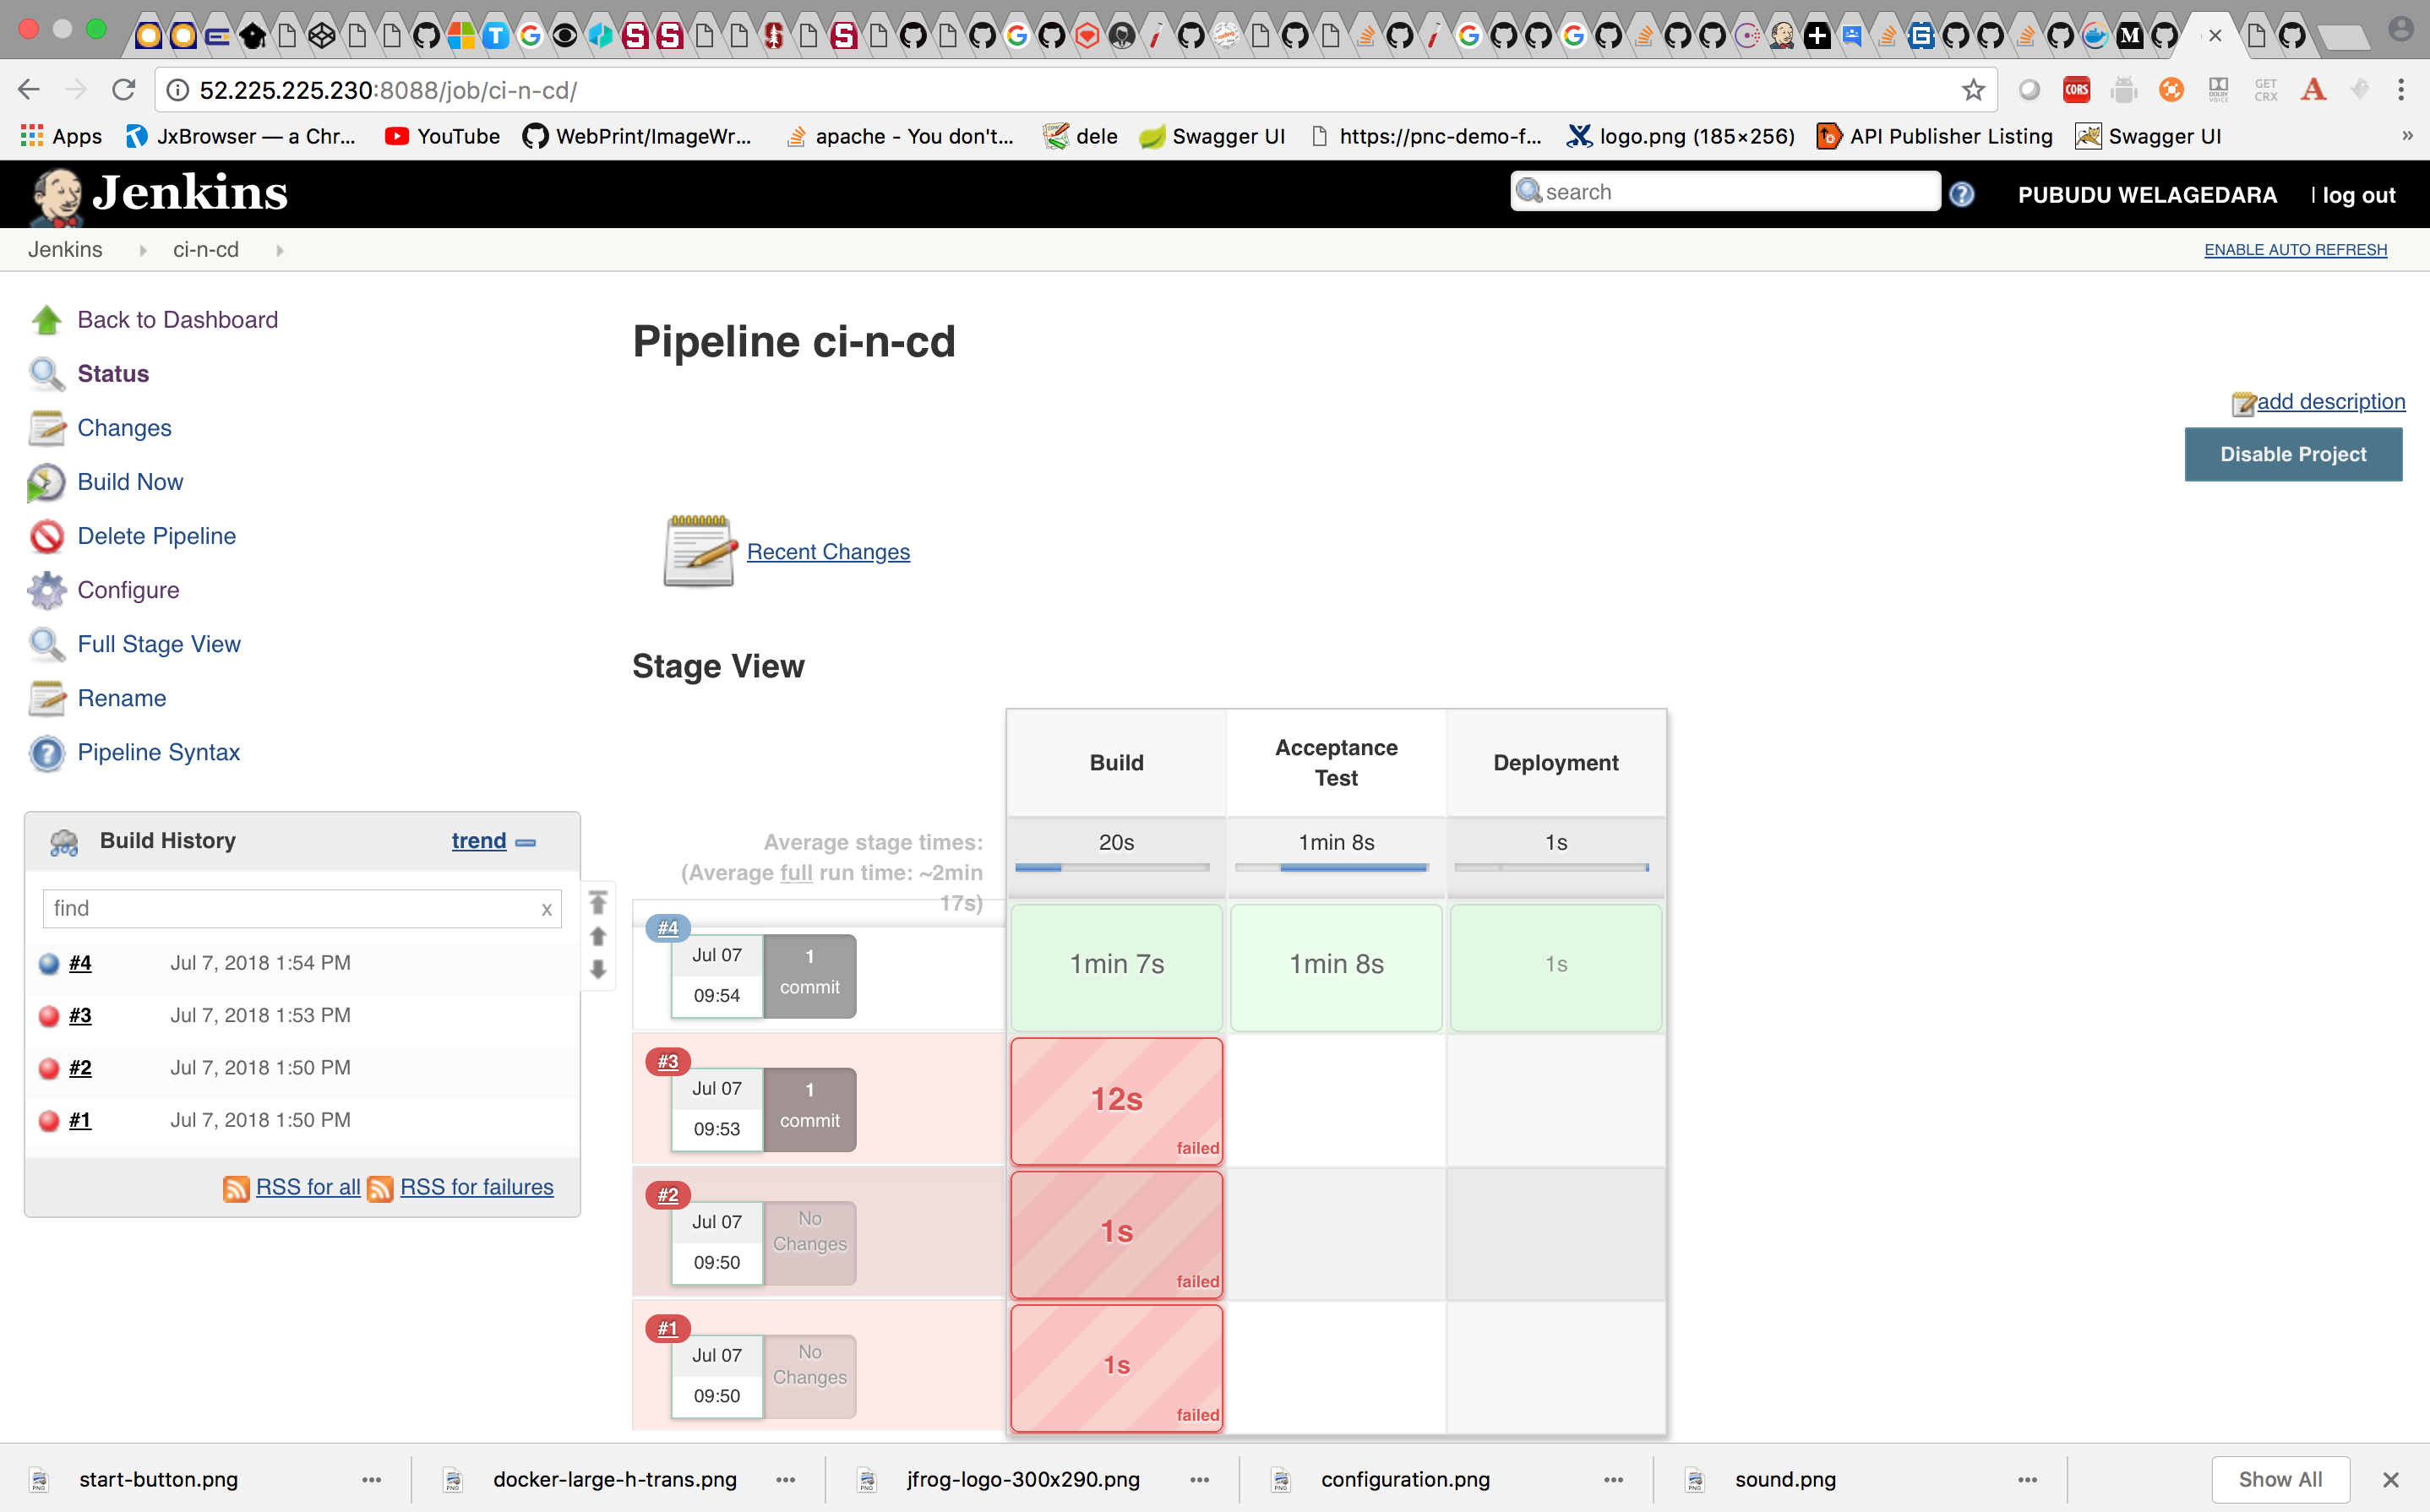
Test your app
Check whether the containers are running. Two containers must be running( Acceptance and Production).

Check whether the Docker Image has been pushed to the Registry.

Hit the Acceptance Endpoint

Hit the Production Endpoint

Things you might want to try
- Running multiple instances of the Application to see how the Load Balancer behaves
- Check how the Load Balancer gets autoconfigured when a new instance of an Application starts running by logging into the container( Have a look at haproxy.cfg in /etc/haproxy directory.)
- Tag the Docker Image with git hash. I am using
latesttag to tag all my images. - Use GitHub Organization so that your new Repositories will be automatically picked up by Jenkins. This is very useful since you can get rid of all the manual configuarions. All your Repository needs is the Jenkinsfile.
