The Gaming Rig Part 4; The POST Test
Hardware / November 15, 2018
I don’t get to assemble computers everyday. So cut me some slack if I get something wrong.
First thing’s first. Ground yourself with the Anti Static Wrist Wrap.
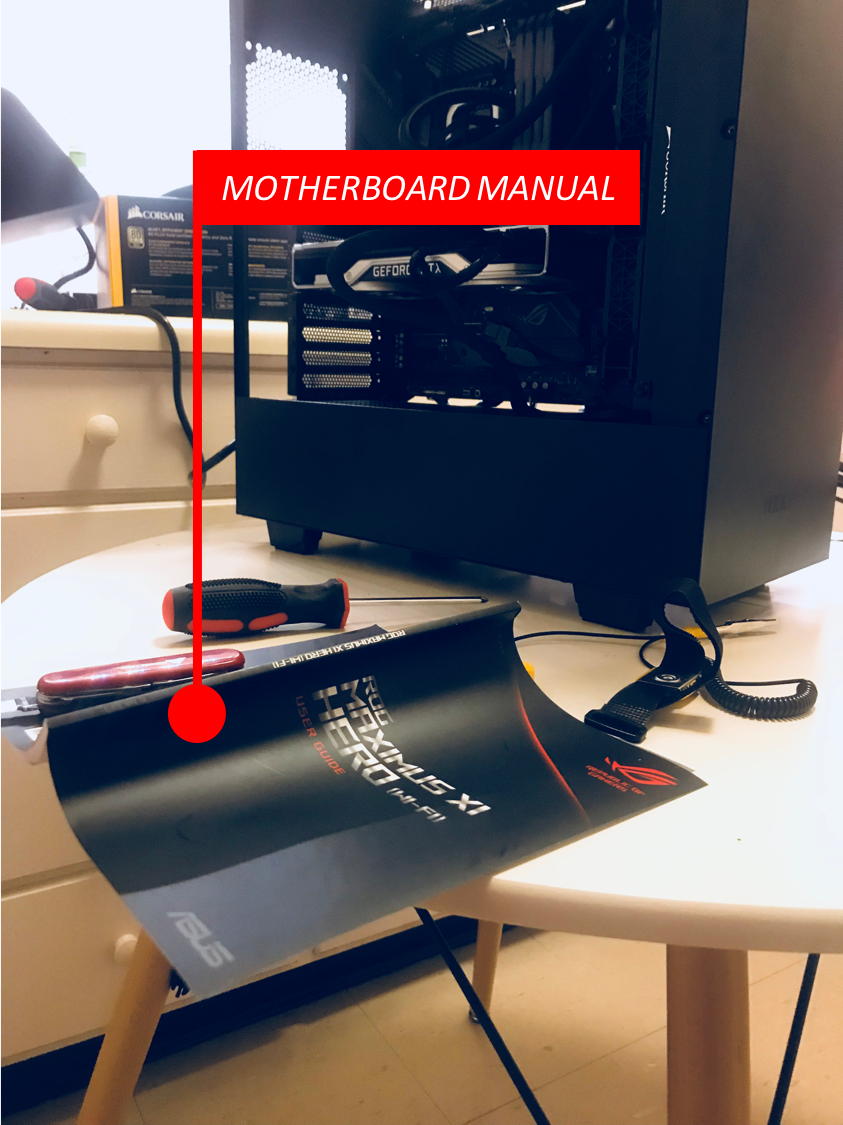
You are going to need your manuals. Reading those will save your day.
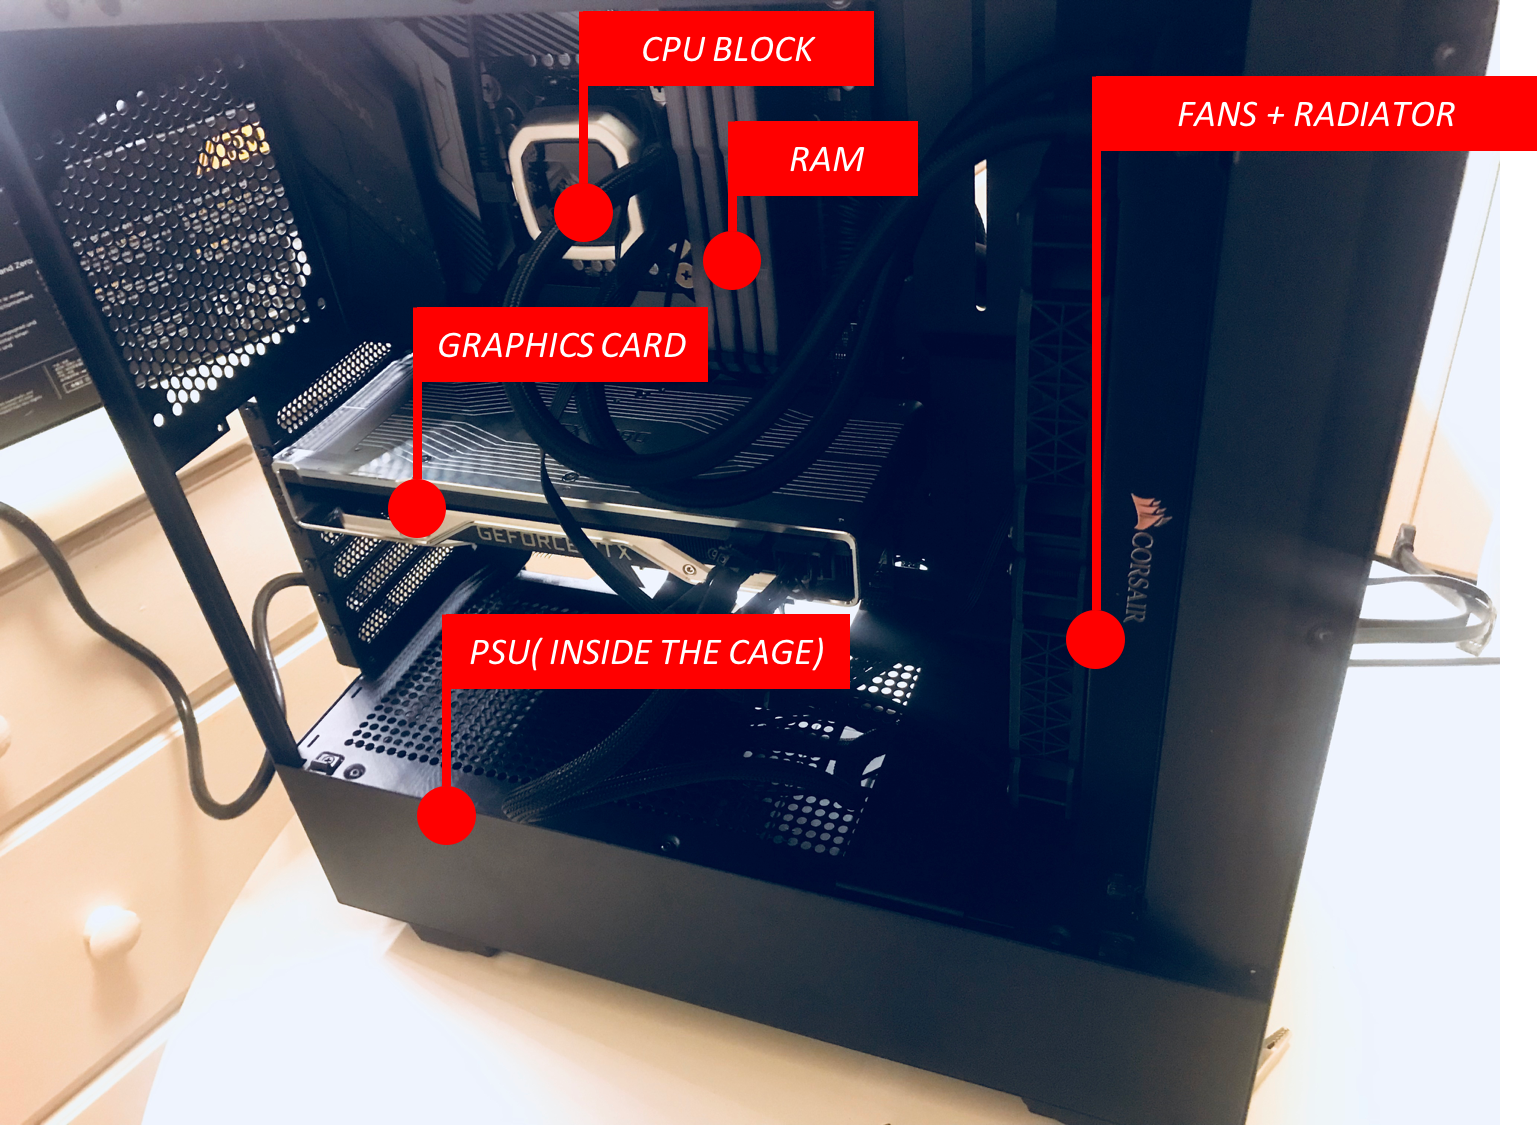
I am going to do the POST Test inside by partially mounting the hardware because I am using an AIO Cooler for the CPU.
The Steps
- First mount the AIO Cooler. Use long screws to mount the Fans to the Radiator then use short screws to mount the Fans & Radiator Combo to the Casing.
- Take the Motherboard out, keep it on its box. Then install the CPU to its socket.
- Now insert the RAM Sticks to their slots. You might have to go through the Motherboard Manual to figure out the correct RAM slots if you have only two RAM Sticks( for Dual Channel Memory).
- Mount the Motherboard inside the Casing.
- Mount the Cooler to the CPU with using the brackets provided. Do not tighten the screws too much.
- Attach the Graphics Card to the PCIe Slot.
- Connect the 24- Pin ATX Cable from the PSU to the Motherboard.
- Next, connect EPS/ ATX 12V Cables to the Motherboard. I had to connect 1 EPS Cable( 8 Pin) and half of that( I think this cable is called ATX 12V 4Pin).
- Connect the AIO Cooler Cables( I had to connect one cable to the CPU_FAN Header, another to a USB 2.0 Header and another to a SATA Power Cable. Then I had to connect the Fan Cables from the Radiator Fans to the Headers from the AIO Cooler).
- Use two 6+ 2 PCIe Power the Graphics Card. RTX 2080 Founders Edition uses 6+ (6+ 2) PCIe Power Lanes.
- Connect your Monitor to the Graphics Card.
- Turn on the PC by using your Motherboard’s Power Button. If your motherboard does not have a Power Button you can turn on the PC by short circuiting the Power Switch Front Panel Pins.
What you want to see
If you have done everything right, you will see some output on the Monitor. If you cannot see anything, you are pretty much screwed.