The Gaming Rig Part 5; Installing Windows
Hardware / November 19, 2018
Now that you know everything works fine, you can connect all other components and install Windows.
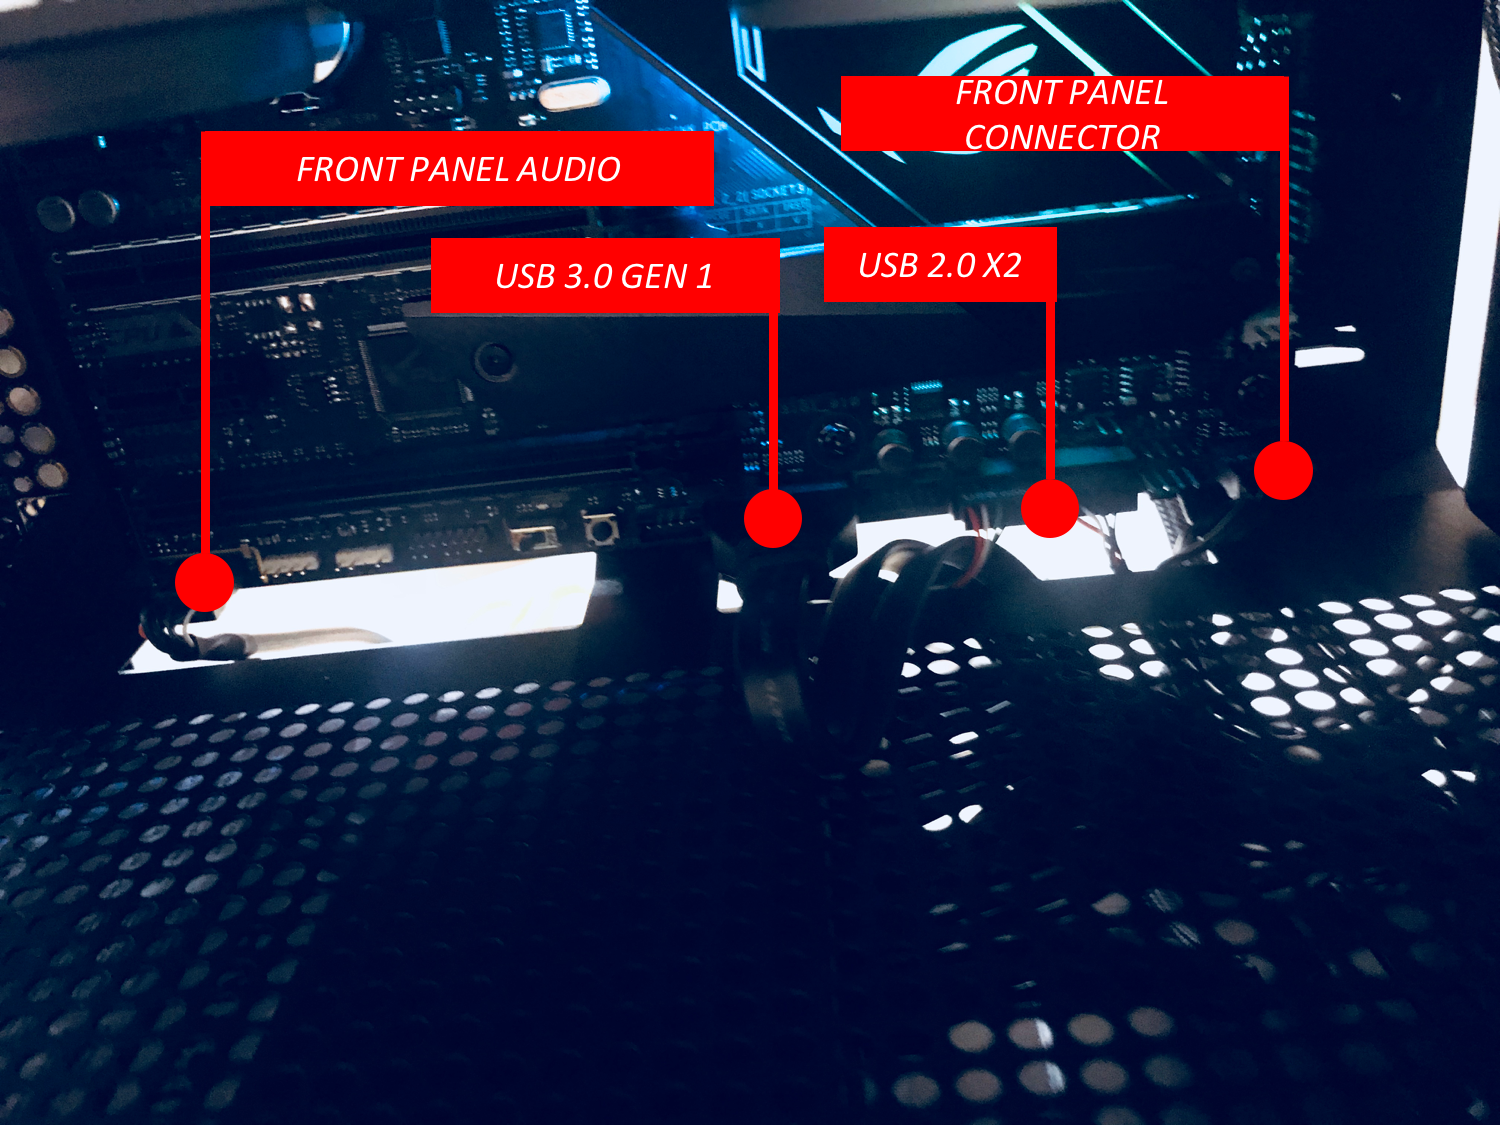
You can start with the M.2 SSDs. Then plugin your Front Panel Connectors( Power Switch, Reset Switch, Audio, USB 3.0 etc. ) to the Motherboard.
The Case Fans can be connected to the NZXT Smart Device or directly to the Motherboard.
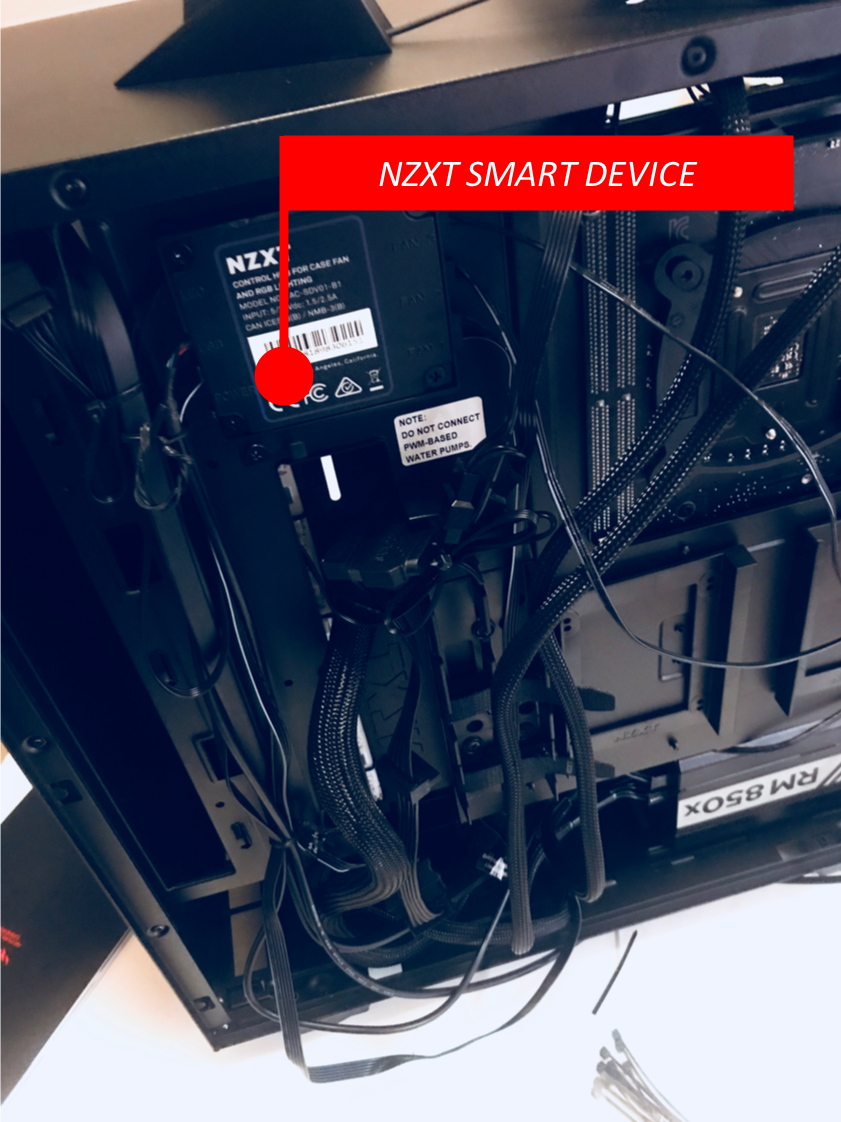
I did not have enough room for the Case Fans so I had to get rid of that from the final build.
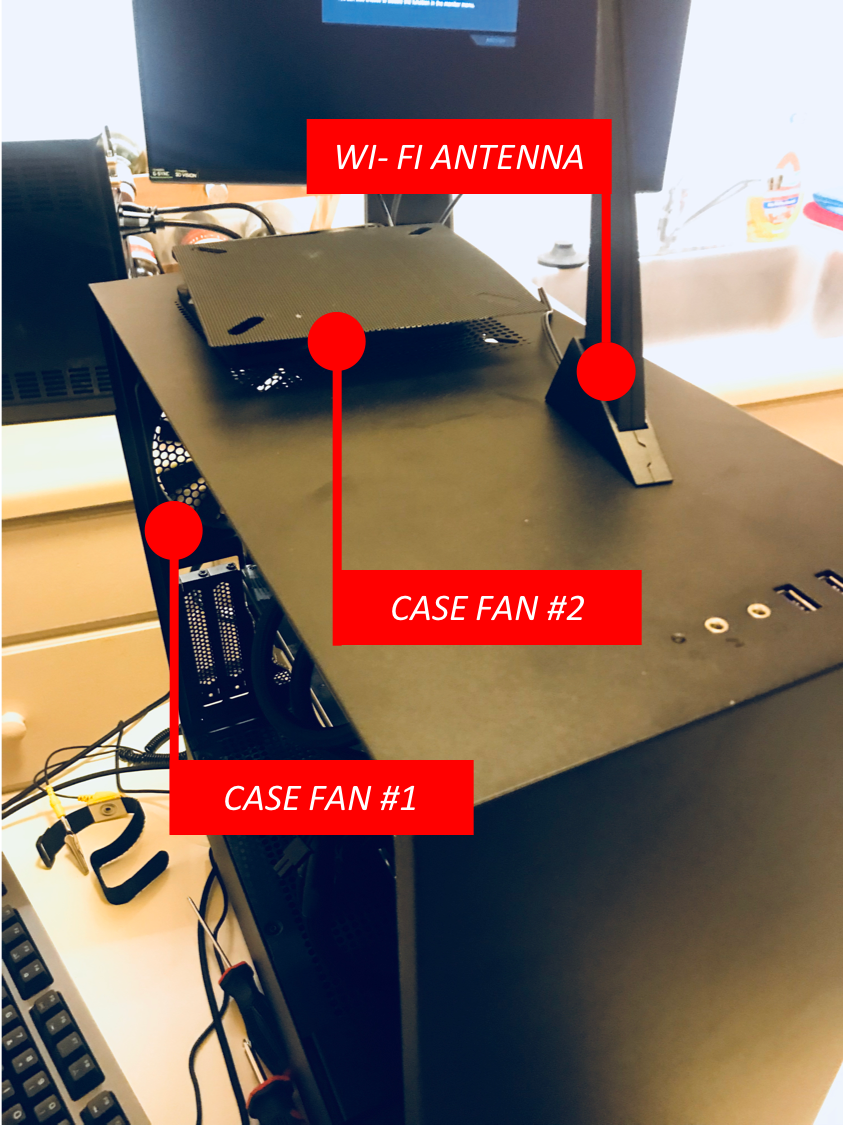
You will need to connect the Wi- Fi Antenna to the Motherboard if you do not have a LAN Cable.
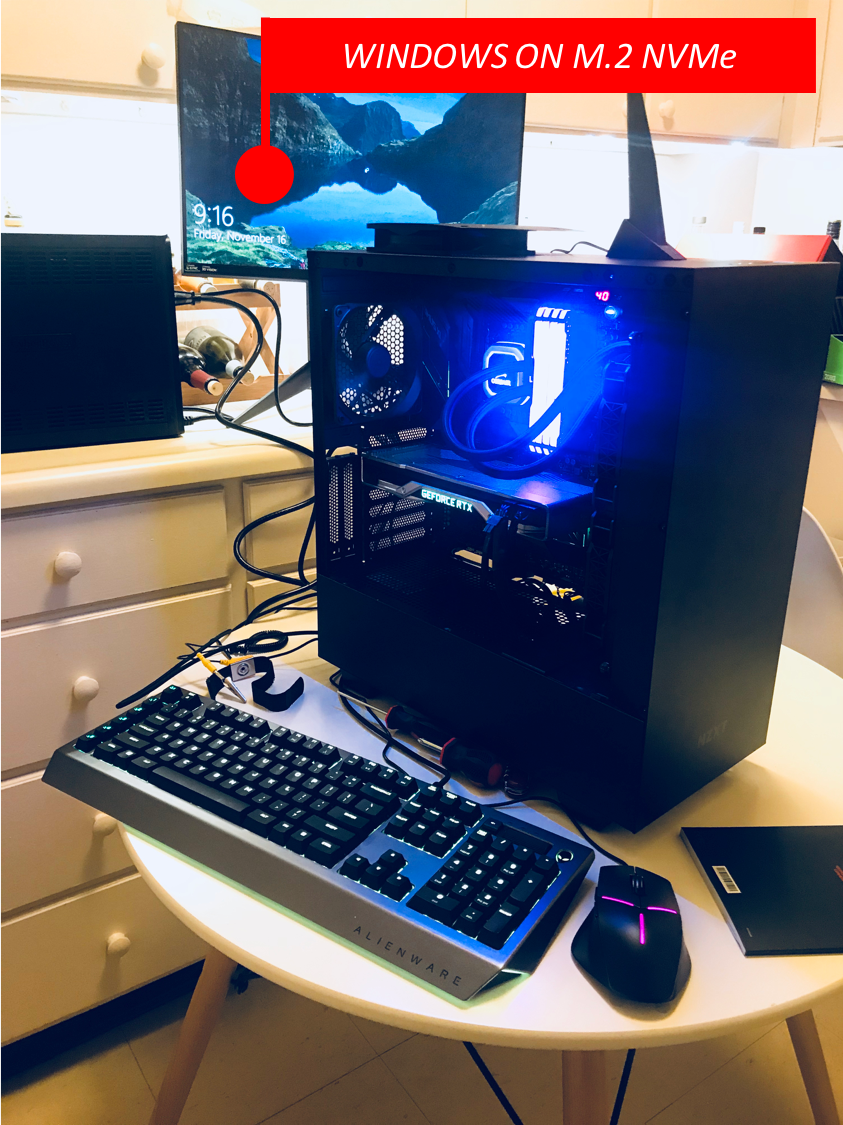
Installing Windows
Installing Windows on an M.2 NVMe SSD can be a little tricky because the PC may not identify the existence of your M.2 out of the box. To get this to work you can follow the instructions here.
Creating the UEFI Bootable USB on Mac did not work for me. So I had to create that on a PC using Rufus.
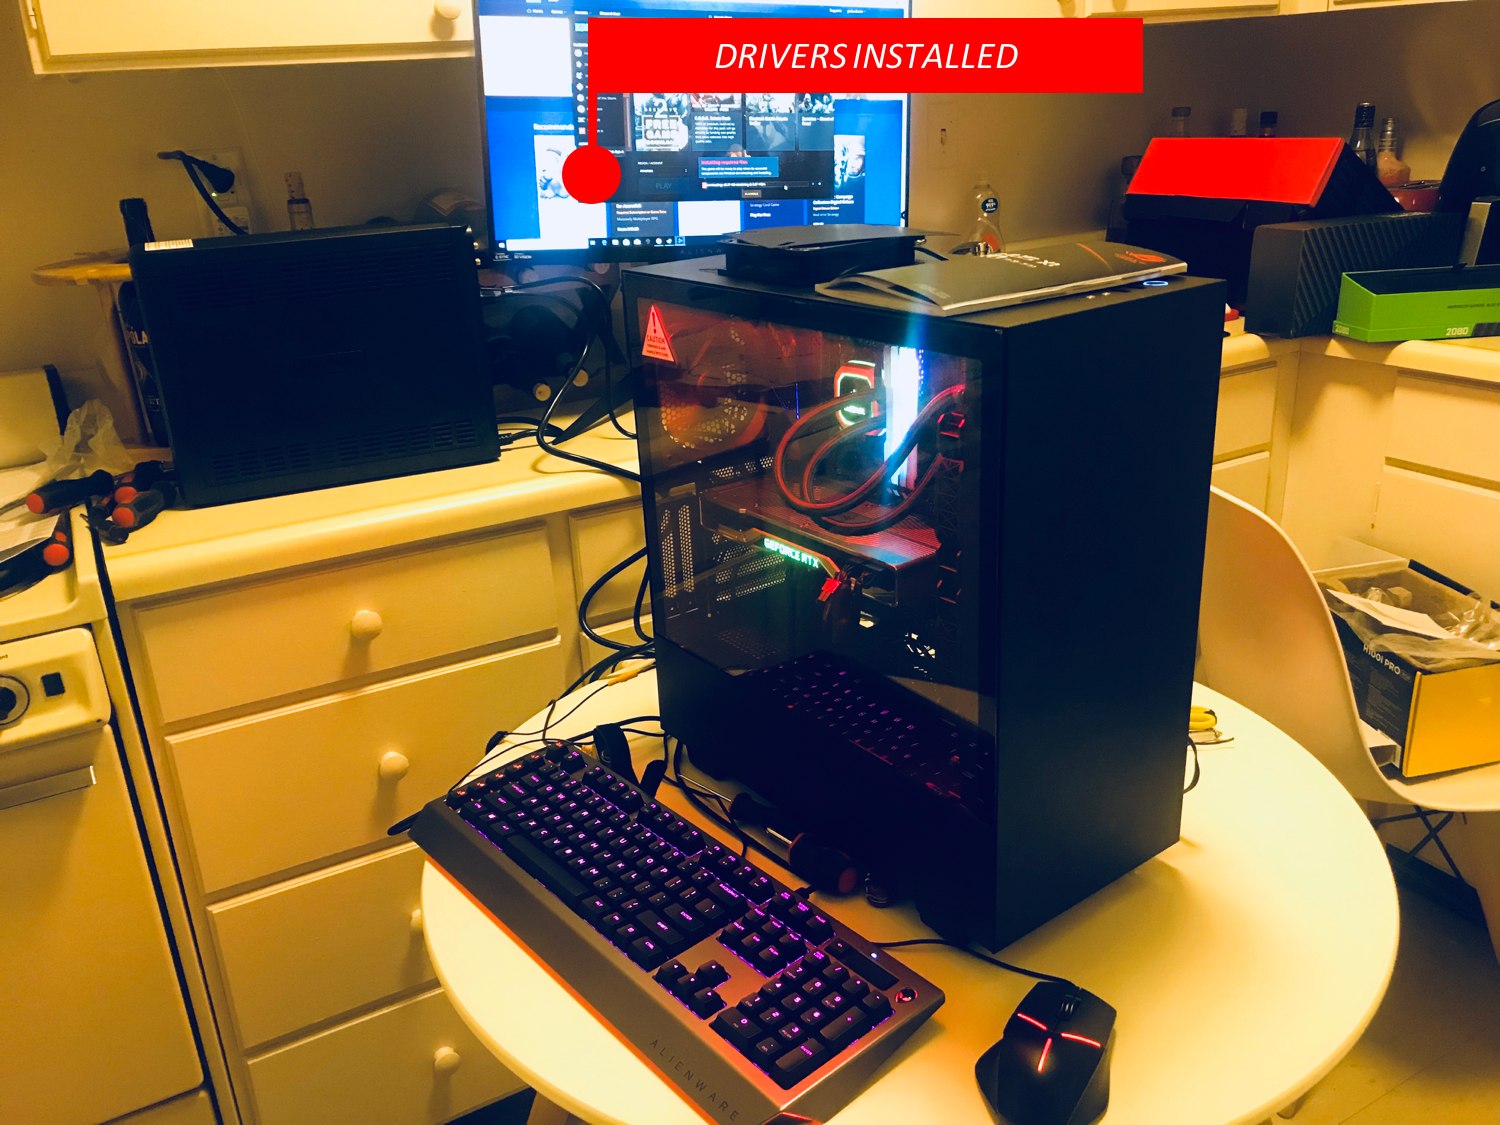
Installing the Drivers
Once you have booted into Windows, start installing the drivers from the Manufacturers’ Sites. Do not use the Drivers CDs for this because the Drivers inclued in those are usually outdated. Install Drivers for all of the components below.
- Motherboard Chipset, Wi- Fi Drivers from Asus Site
- Graphics Drivers from Nvidia
- Drivers for the Corsair AIO Cooler and the RGB DIMMs
- NZXT Smart Device Drivers
- Alienware Drivers for the Mouse, Keyboard and Monitor
- M.2 Drivers